For many reasons, you may need to change the hard drive or storage device in your computer. The process of going about this is easy and straightforward, that you can install a hard drive on your computer.
Different Types of Hard Drives and How To Install Them
How to Install SATA Hard Disk on Desktop PCS

Before changing or installing the SATA hard disk, the first and most important step is to check and confirm the type of SATA Hard drive that your computer uses. Finding this information is quite easy, and you can get the information on the manufacturer's website.
Let's take Gigabyte H310M D3H as an example. This board supports SATA3.0 so that you can buy a SATA3.0 hard disk. If you can afford it, you should get an SSD (solid-state drive) because it can improve the computer's performance more than that of the hard drive in many obvious ways.
Step 1
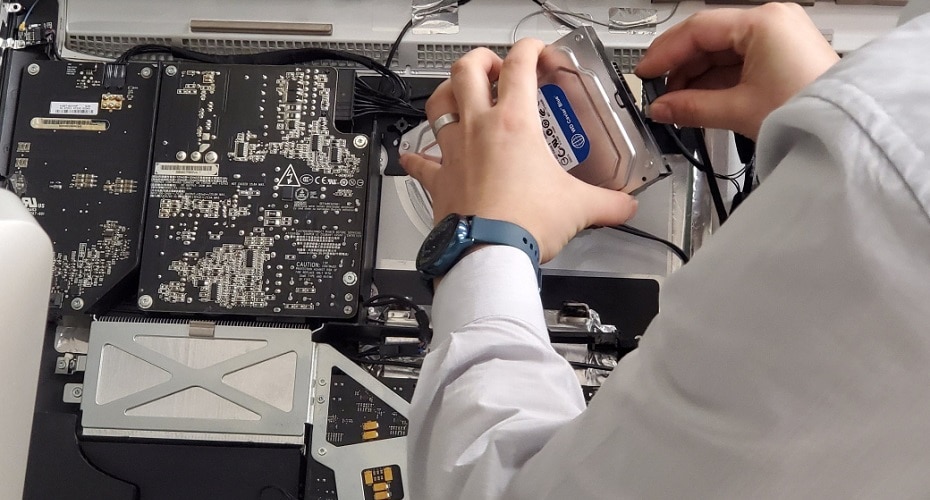
Disassemble your case and unplug the power and data cables from your hard drive. The hard drive usually comes in a drive cage or drive bay. Depending on your hard drive, the cage will be placed and mounted in different ways. The most common location for a hard drive is the lower front, close to your computer's intake fan.
Step 2
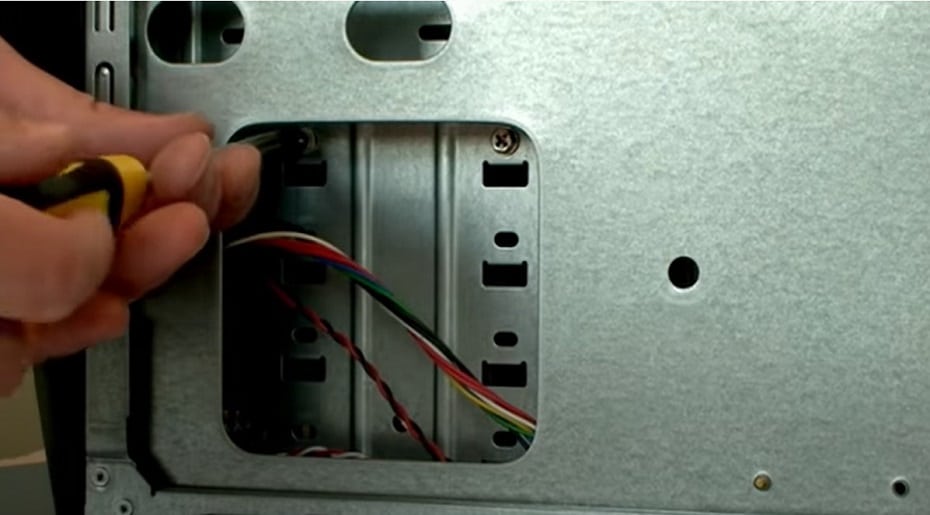
Remove the old hard disk drive by turning the fixing screw. These screws are usually four in number and located on the sides and bottom of the hard drive.
Step 3
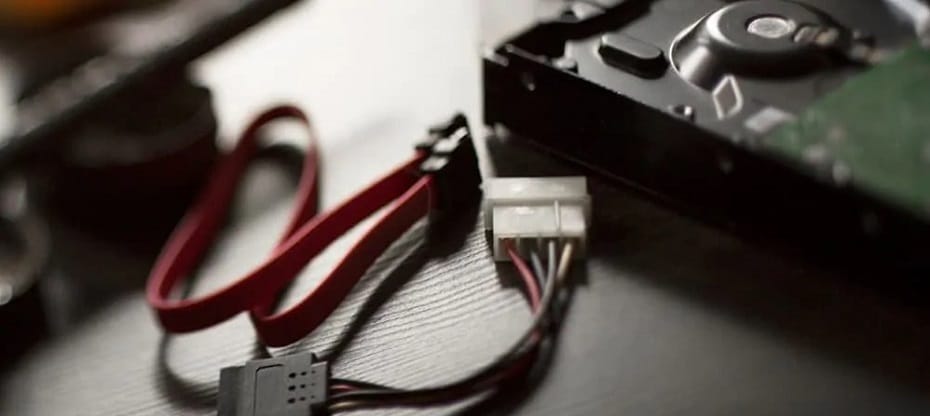
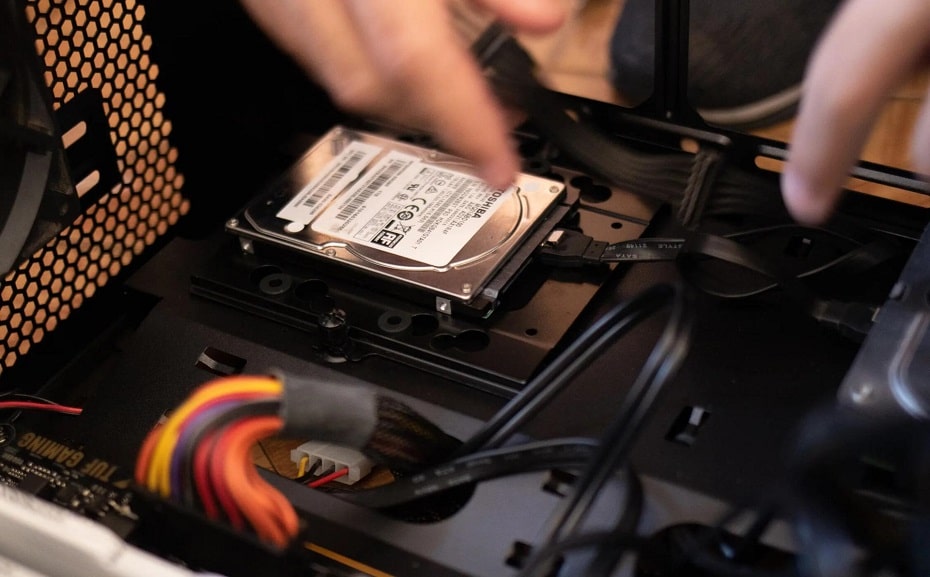
Put in the new hard disk and screw down the screw holes (depending on your hard drive's size, you may need to use Drive Bay). To mount the new hard drive, you need to plug the SATA data cable into the motherboard. Most SATA drives use a cable to fit into the hard drive and the motherboard. To use the SATA data cable, you need to connect one end of the SATA cable to the drive and another end to the motherboard's SATA port.

Step 4
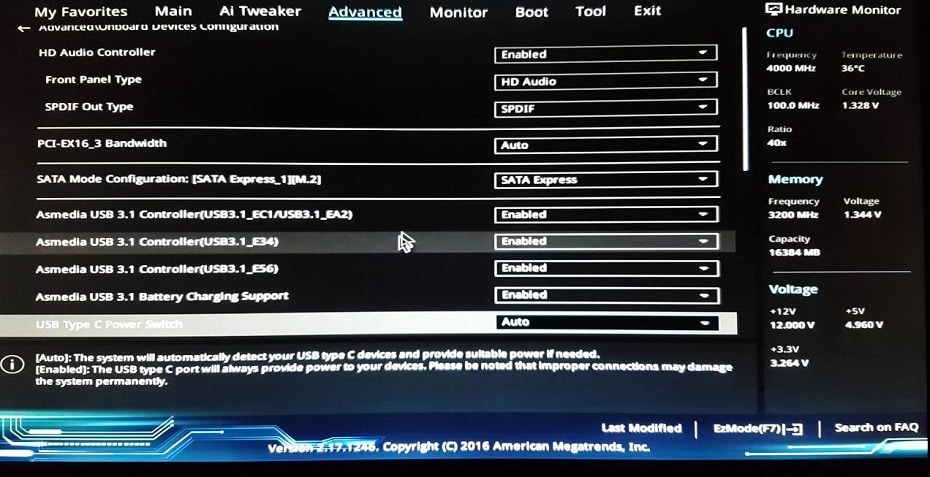
Enter the BIOS Setup and verify that the drive link interface is enabled. To access the BIOS setup, press the DEL or F2 keys. When you get to the BIOS setup, go to the System Settings or the Integrated Peripherals option > SATA option to view all the drives installed in the computer. If the SATA hard drive has been correctly installed, you should find in it the BIOS Setup.

In case you cannot find the drive under the BIOS setup, you will need to shut the computer down, cross-check the connections, and boot the BIOS setup again. If you still cannot find it there, you should try to plug the SATA data cable into another motherboard.
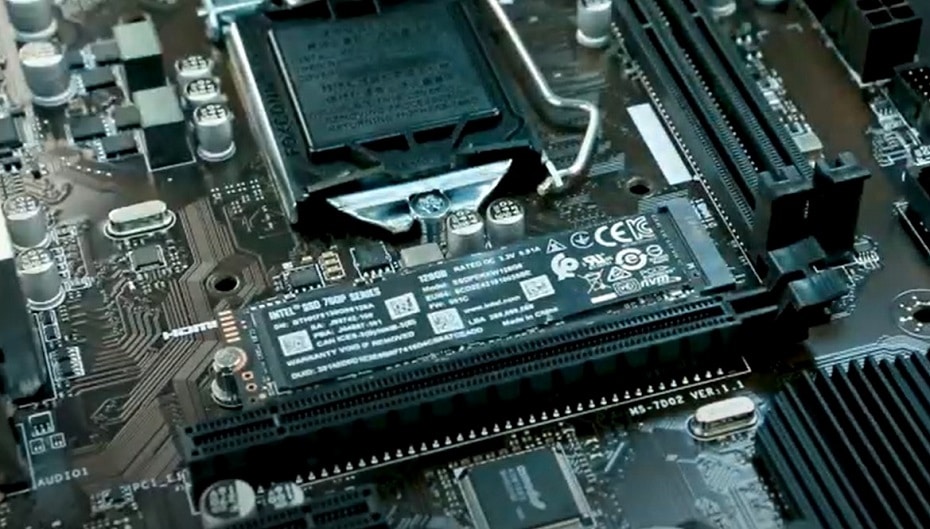
How to Install the M2 Hard Disk on the Desktop PC
As with the SATA Hard Drive, the first thing to do is check if your hard drive supports M2 slots. There is a difference between the motherboard having M2 slots and the slots being compatible with the M2 drives. The compatibility depends on the B key drives, M+B key drives, and the M key drives.
Step 1
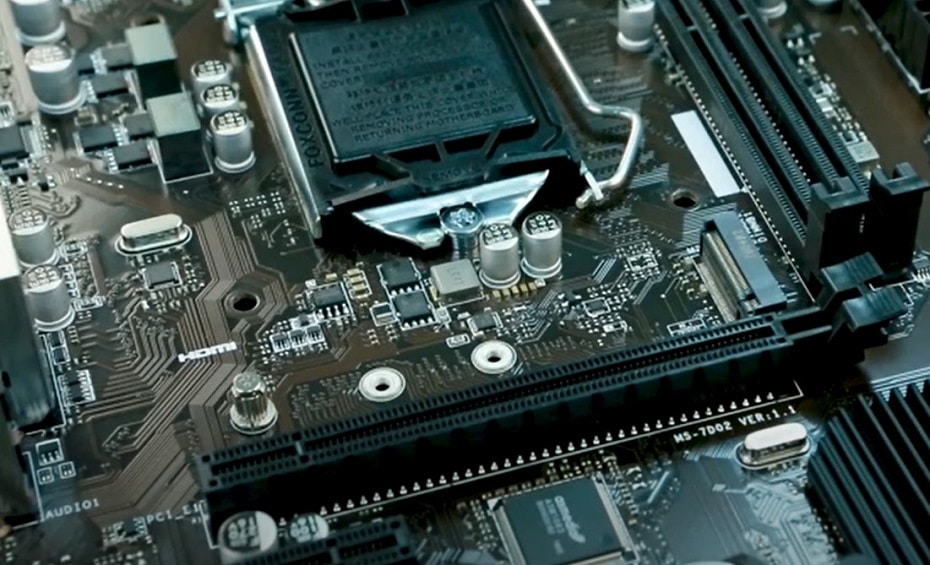
Locate the M2 slots on the motherboard. You can easily find the slot between the CPU and GPU on the lower right side of the motherboard. To unscrew the M2 drive, you need to unscrew the metal plate that protects it.
Step 2
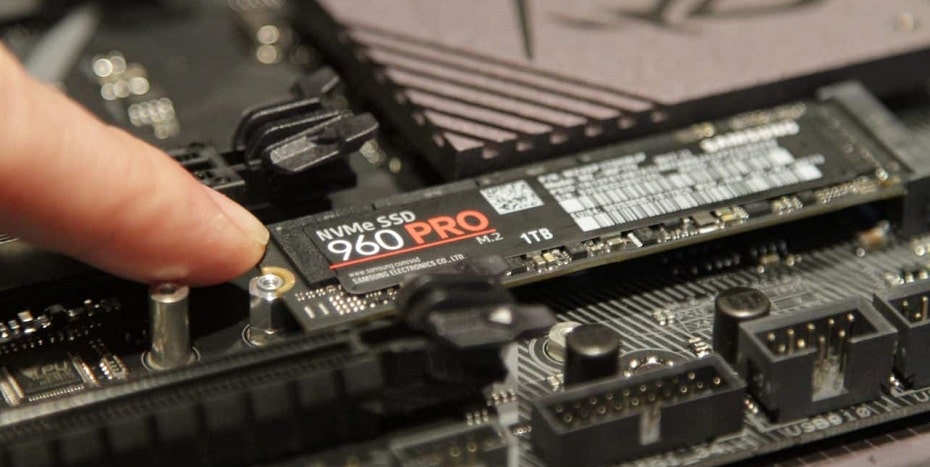
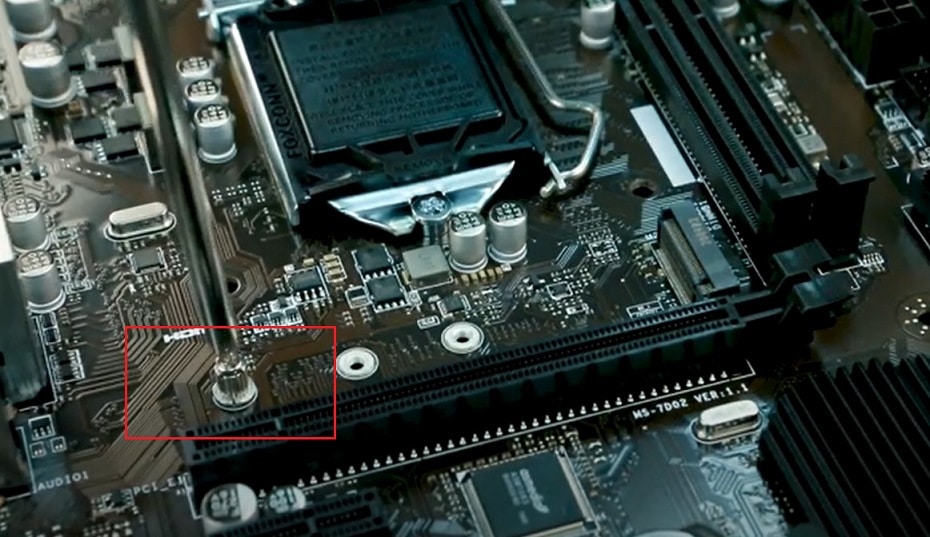
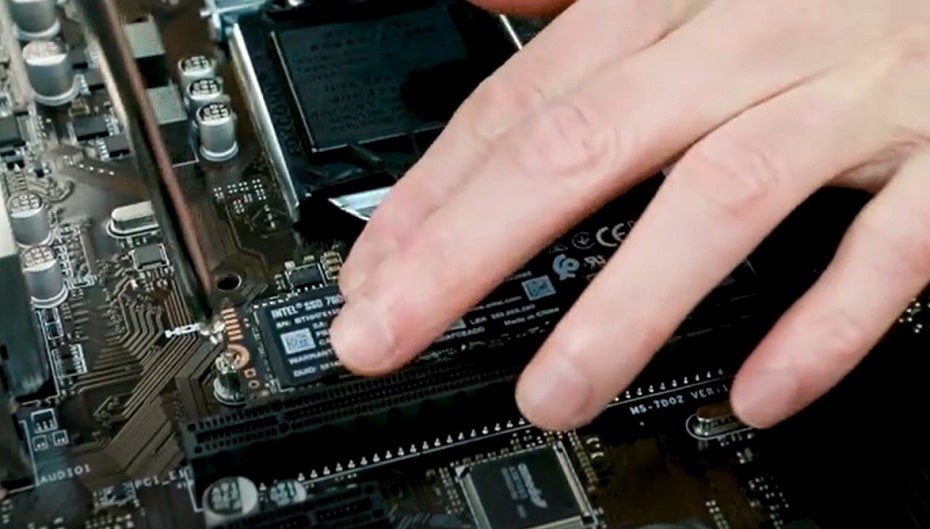
Insert the M2 drive into the M2 slot. You start by unscrewing the mounting screw near the slot. After this, you need to fix the M2 mounts that came with the M2 drive. Doing this will ensure that when you screw down the drive, it will lie parallel to the motherboard rather than sit up angled to it. After removing the mounting screw and fixing the drive mount, insert the M2 drive in a 30 degrees inclination on the motherboard. You can then press the upper end of the drive down and fix it with a drive mount. Then reinsert the GPU and any other component that you had to remove previously.
Step 3
Install the M2 drive into the BIOS. To do this, press the DEL or F2 key during the start-up, and check if the drive reflects in the BIOS setup.
How do I Replace the Hard Drive on My Laptop?
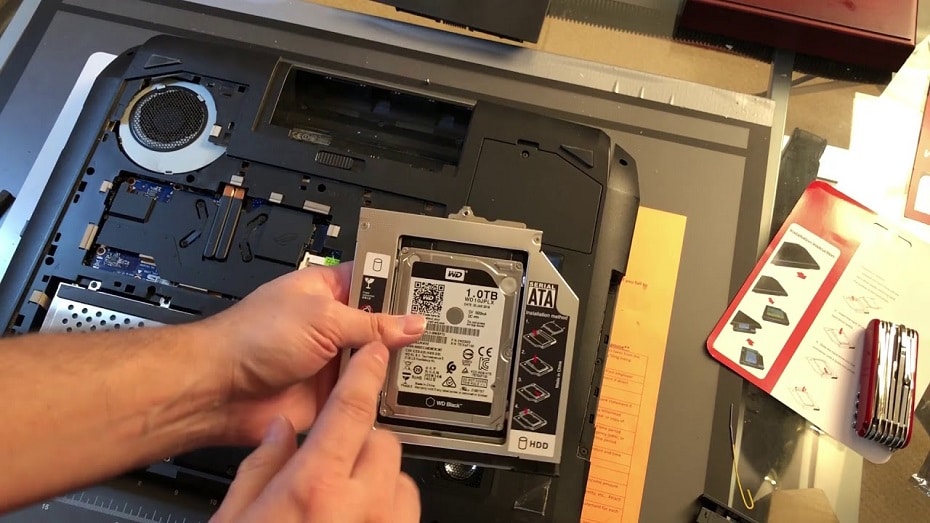
Usually, there are two reasons for replacing the hard drive on your laptop. It could be that you need to replace a failed drive, or you need to replace a full drive. Either way, the process of replacing the drives in a laptop is quite easy and straightforward.
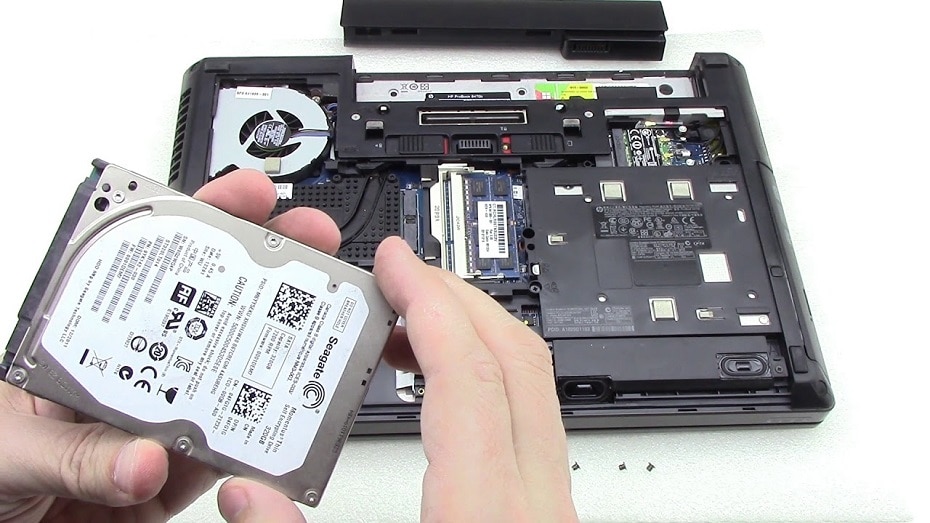
Step 1
Remove the back of the laptop and remove all jumpers. For this operation, you need a head screwdriver.

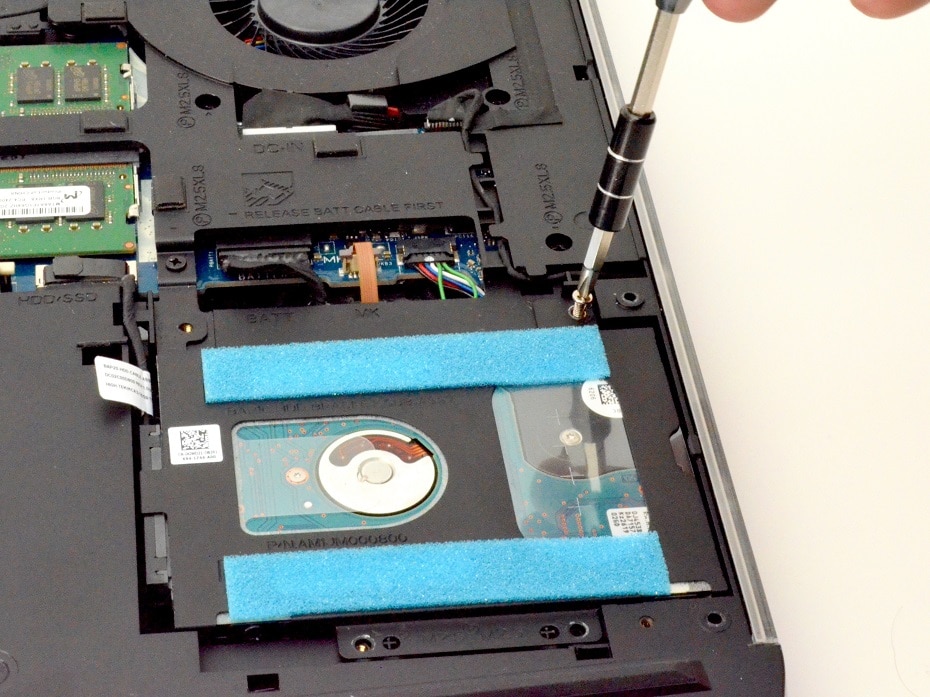
Step 2
Unscrew the screw that holds the hard drive in place and unplug the old hard drive.
Step 3
Place the purchased hard disk in the original position of the CD-ROM drive and tighten the fixing screws.
FAQs
Can you replace the hard disk without reinstalling the operating system?
Yes, you just need to use some tools to clone the original system onto the new hard drive. Examples of tools you can use include Acronis, Paragon Drive Copy, AOMEI Backupper, and many more.
How fast is Solid State Drive?
The speed of SSDs vary from type to type, as depicted in the table below;
| Solid State Drive | Possible Speed | theoretical maximum speed |
| SATA 3.0 | SATA 6Gb/s | 600Mb /s |
| SATA 2.0 | SATA 3Gb/s | 300Mb /s |
What about the replaced hard disk?
Depending on the state of the disk, you can do many things with it. If it is a failed one, you can dispose of it. If it's full and you need it, you can buy a drive cable and plug it into the USB port of the Desktop Tower to act as an external drive.