
Discover the 4 ways to transfer iPhone photos to your PC with FonePaw DoTrans, Windows built-in tools, and iCloud, rather than iTunes.
You've captured countless precious moments on your iPhone. The next is to transfer them to your PC for editing or backing up. Suddenly, you remember that you are dealing with a Windows computer, not a Mac that supports the convenient AirDrop.
It is common for users to be stuck with no straightforward way to transfer iPhone photos to a PC. But fear not! In this blog post, we'll provide 4 hassle-free methods to help you bypass this restriction and effortlessly process the transfer, all without the need for iTunes. Scroll down for our expert tips and be ready for a ride of seamless photo transfer!
Way 1. Transfer Photos From iPhone To PC via FonePaw DoTrans
The first method relies heavily on FonePaw DoTrans. It is a powerful tool that simplifies your iPhone-to-PC file transfer. With it, you can transfer a variety of file types including photos, videos, contacts, etc. among different devices easily. Also, you never need to worry about compatibility. Even if you are using the latest iPhone running the newly released iOS system, the well-compatible tool works smoothly, allowing you to get photos from your iPhone on your computer in easy steps.
Before processing the transfer, please have the USB cable ready and have FonePaw DoTrans installed on your computer and iPhone in advance. They are must preparations, do not skip any.
Step 1. Connect your iPhone to the PC with the USB cable.
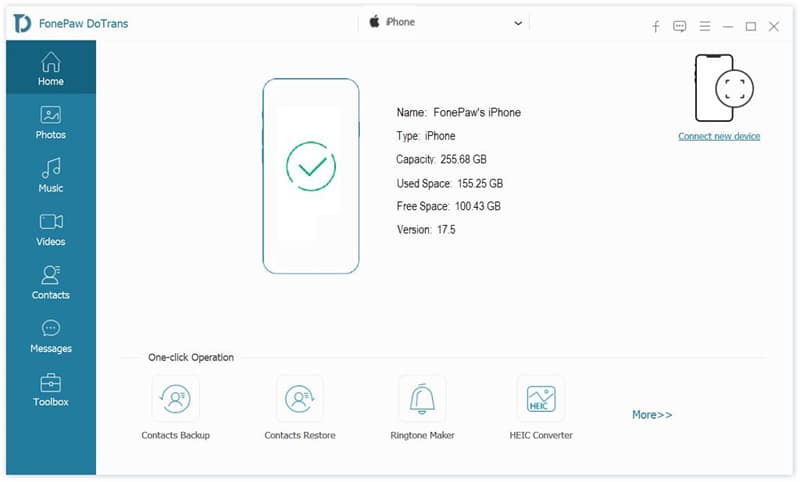
Step 2. Select “Photos” from the left column, then click “Start” to allow FonePaw to scan through your iPhone.
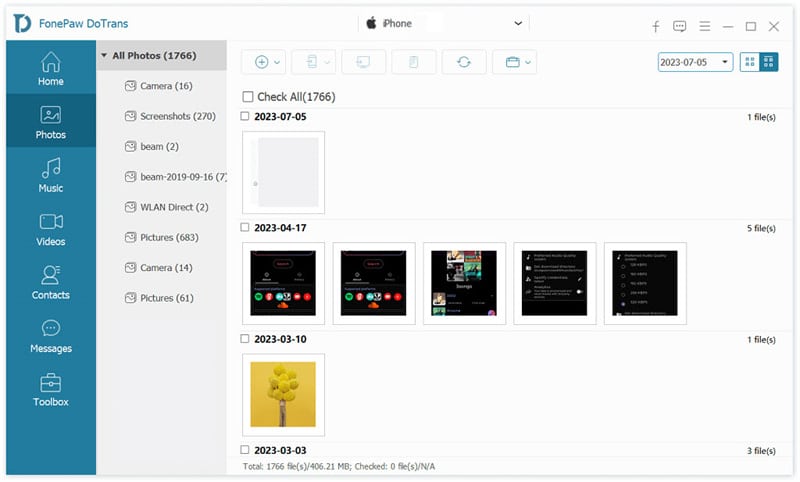
Step 3. After the scan finishes, choose the photos you want to transfer and the output folder, then click “Export to PC” from the top column.

Now the work on your end is done, FonePaw will finish the transfer sooner than you expected.
Way 2. Import iPhone Photos to PC with Windows Photos App
The second way comes to a built-in app on your Windows PC: Windows Photos. It is not only an app that empowers you to view and organize your photos and videos but also transfers them easily to the device. After connecting your iPhone to your PC with a USB cable, you can efficiently import your media files with a few clicks in the Photos app. Below are the steps for your reference.
Step 1. Connect your iPhone to a PC with the USB cable.
Step 2. Turn on and unlock your iPhone. It is necessary as it enables Windows to find your iPhone. Never skip it before moving forward.
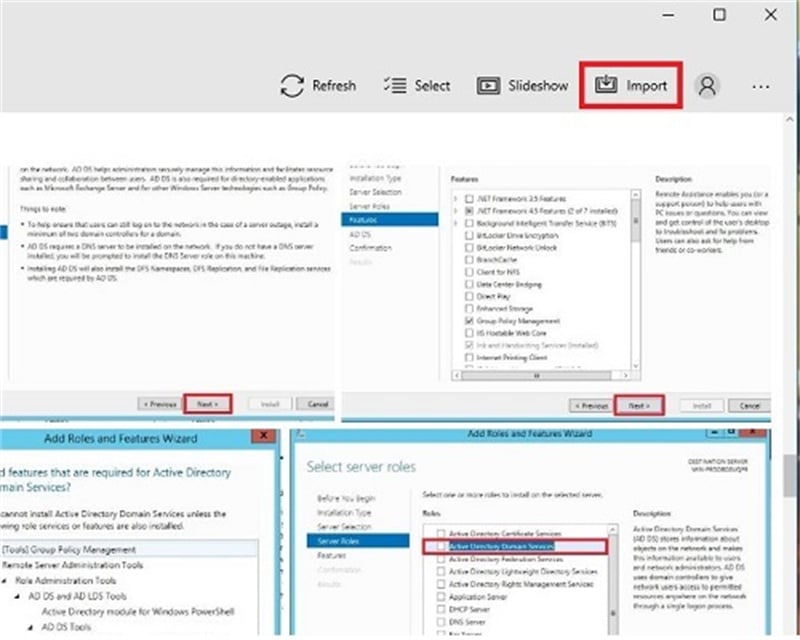
Step 3. Click on the “Start” menu and select “Photos” to open the app. If the app does not show, you can search for it.

Step 4. On the upper-right screen, click “Import“, select “From a USB device” from the dropdown menu, and follow the instructions to pick the photos you want to transfer and the folder you want to save them.
Way 3. Copy iPhone Photos to PC in File Explorer
The File Explorer should never be missed when transferring iPhone files to a Windows PC. It is the third way, and also a straightforward way we are going to bring in here. In this method, a USB cable is also required. Let’s explore how you can process it.
Step 1. Connect your iPhone to the PC with the USB cable.
Step 2. Launch the “File Explorer” on your PC. You can also open it by pressing the “Windows key + E” simultaneously.
Step 3. Select “This PC” from the sidebar, find your iPhone under “Devices and Drives”, and select “your iPhone name”.
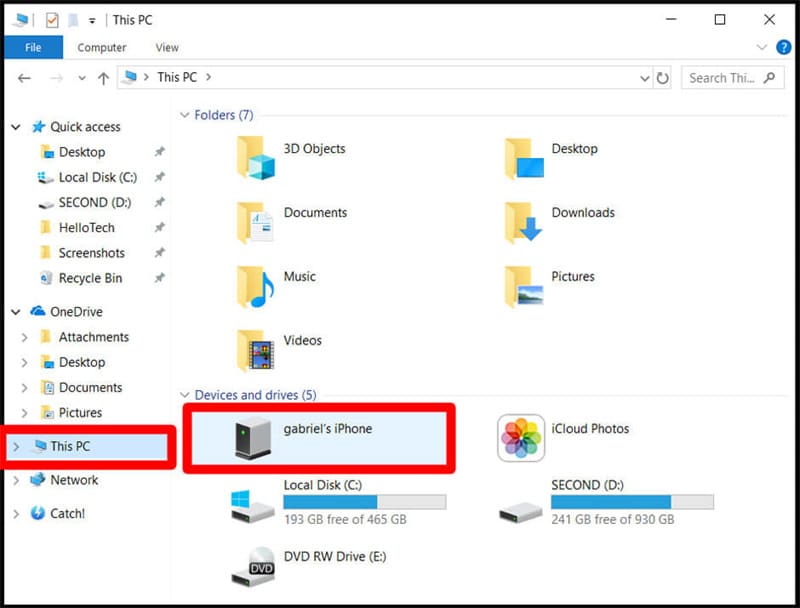
Step 4. Navigate to the “DCIM” folder, select the folders containing your photos, and copy and paste them to the desired folder on your PC.
Way 4. Download iPhone Photos to PC from iCloud
Likely, sometimes you do not want a USB cable to transfer your iPhone photos. It is where iCloud would be the way to go. Once iCloud service is on, you can always access your original, full-resolution iPhone photos on all of your devices, including the PC. This makes wireless transfer a breeze. Below you can have a full check of the detailed steps to download iPhone photos to a PC from iCloud Photo.
Step 1. Download iCloud for Windows and launch it on your PC.
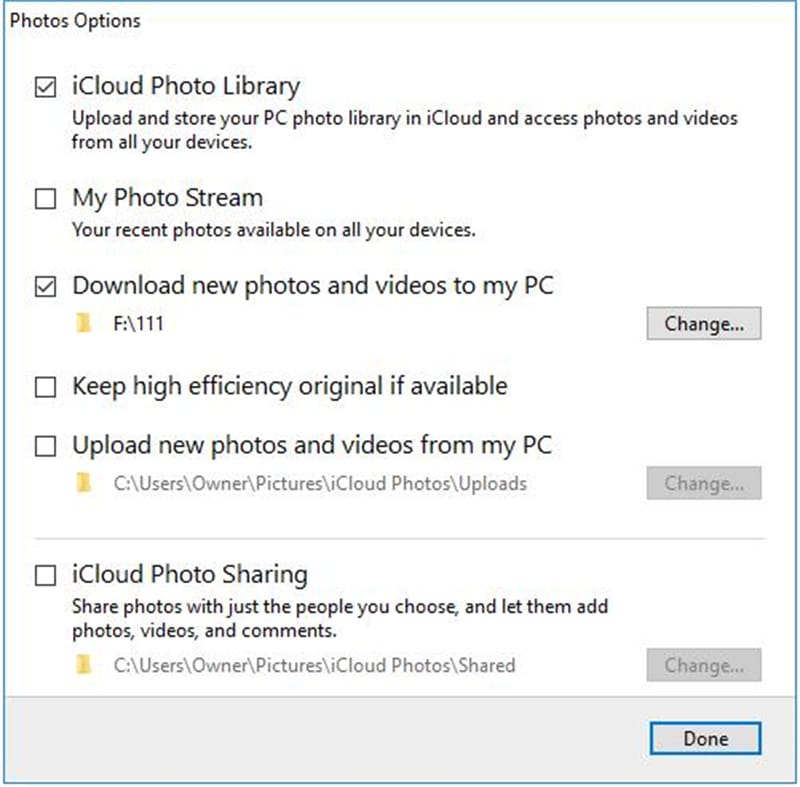
Step 2. Navigate to “Photos“, Click “Options” next to it, and enable “iCloud Photo Library“.
step 3. Turn on “Download new photos and videos to my PC“. You can set the preferred location of uploaded photos by clicking the “Change” button.
The transfer will be processed once there is available WiFi. Please wait patiently.
Conclusion
It turns out that transferring iPhone photos to your computer can be easy even without the help of iTunes. With a USB cable, built-in tools like Windows Photos or File Explorer would be a great solution. For wireless convenience, you can turn to iCloud, which offers seamless synchronization, allowing effortless downloads from its cloud service.
However, for a more comprehensive solution, FonePaw DoTrans would be your best choice. Designed to work on the latest versions of operating systems, it aims to deliver hassle-free file transfer, management, and backup across devices. With just one click, you can transfer photos, videos, contacts, and messages between Android, iOS, and Windows devices. Download now to embrace the ultimate convenience!