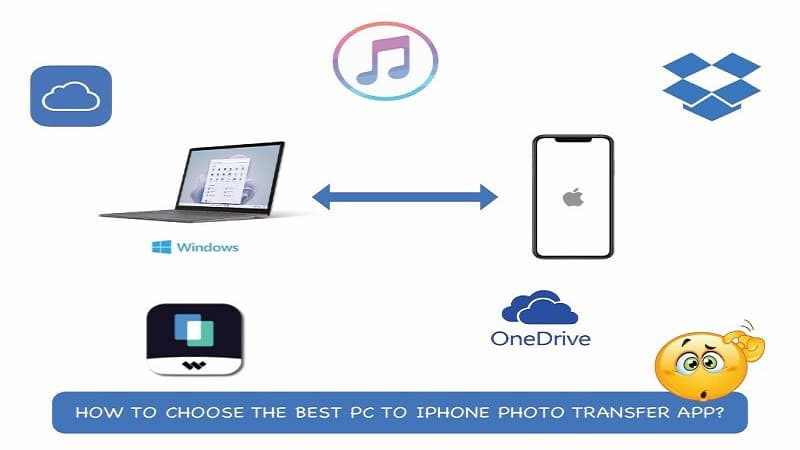
Need to transfer photos to iPhone from PC? Looking for the best PC to iPhone photo transfer methods? Read on and find out the top PC to iPhone photo transfer apps and methods.
Part I: Criteria For Choosing the Best Photo Transfer App For iPhone
Part II: Top PC To iPhone Photo Transfer Apps & Methods
Part III: Comparison Table
Closing Words and Recommendation
It’s that time of the year again when Apple is slated to release a new iPhone in less than a month and you can snag any of the older models at lucrative discounts. If you have taken the plunge into the iPhone world and are wondering how to transfer photos from iPhone to your PC or your PC to your iPhone, you have come to the right place.
This guide will take you on a path of file transfer salvation you never knew existed and by the end of it, you will know which is the best iphone to windows file transfer app for you.
Part I: Criteria For Choosing the Best Photo Transfer App For iPhone
Now, when looking for the best photo transfer apps to transfer photos from PC to iPhone, do you know what to look for? If yes, more power to you! If not, we are here to help you! If you do not want to use iTunes, there are ways you can transfer photos from pc to iphone without itunes. But first, here’s how to select the best of the lot.
You need an app that:
- Works on both macOS and Windows operating systems,
- Transfer photos from PC to iPhone and iPhone to PC as well,
- Versatile enough to transfer other data as well when desired,
- Transfer content to and from Android devices as well,
- Easy to use and understand.
Part II: Top PC To iPhone Photo Transfer Apps & Methods
Let’s get to the top apps and ways to transfer photos from PC to iPhone.
App 1: Apple iTunes For Windows
Though Apple has retired the iTunes app for macOS, its Windows counterpart continues to live on, and people continue to have a love-hate relationship with it. Some swear by it, some swear at it! Have it any which way, iTunes is one of the most recognizable names and hence gets the top mention for PC to iPhone phone transfer apps.
Here’s how to transfer photos from PC to iPhone using iTunes.
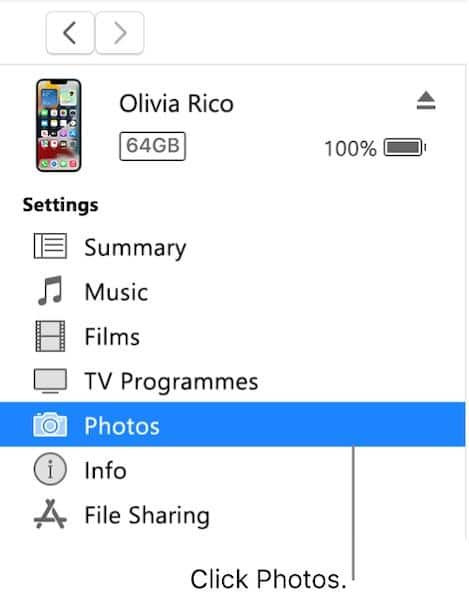
Step 1: Connect your iPhone to the PC and launch iTunes. Click the device symbol:

Step 2: Click Photos in the sidebar.
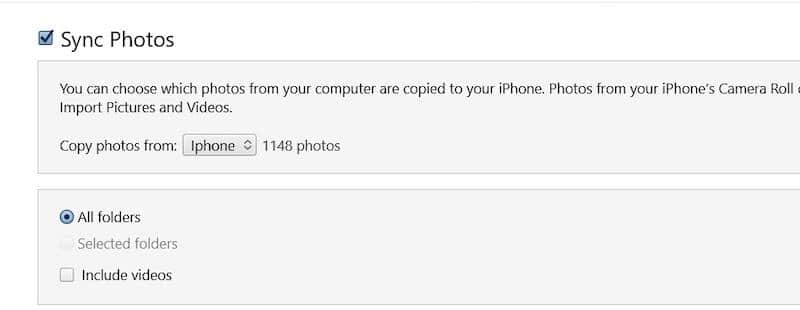
Step 3: Enable Sync by ticking the box and syncing your albums. Tick include Videos if you want to transfer videos, too.
Now, one must wonder, is this the best way out there in 2023? Absolutely not!
App 2: Wondershare MobileTrans
Don’t take our word for it. The reviewer community around the world agrees with us on this one – the best app for PC to iPhone photo transfer is Wondershare MobileTrans. Apple could learn a thing or two with this one!
Wondershare MobileTrans features an easy-to-use interface that users can use to transfer photos from PC to iPhone in just a few clicks. The app is fast, and works natively on both Windows and macOS, so you can get the same amazing experience of the best PC to iPhone photo transfer app on any platform you use.
Here’s how to use MobileTrans to quickly transfer photos from PC to iPhone.
Step 1: Launch MobileTrans and select Phone Transfer from the tabs. Then, click Import to Phone.
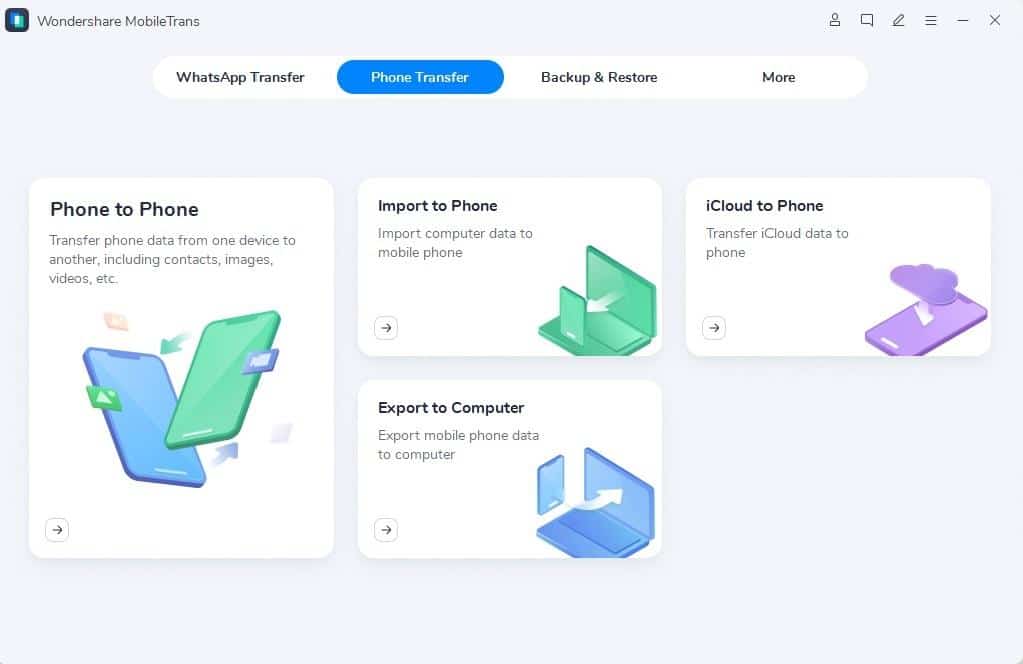
Step 2: Connect your iPhone to the PC and wait for MobileTrans to detect your device. Once done, you see all data you can transfer to iPhone from PC. Click Photos and select the photos you want to transfer.
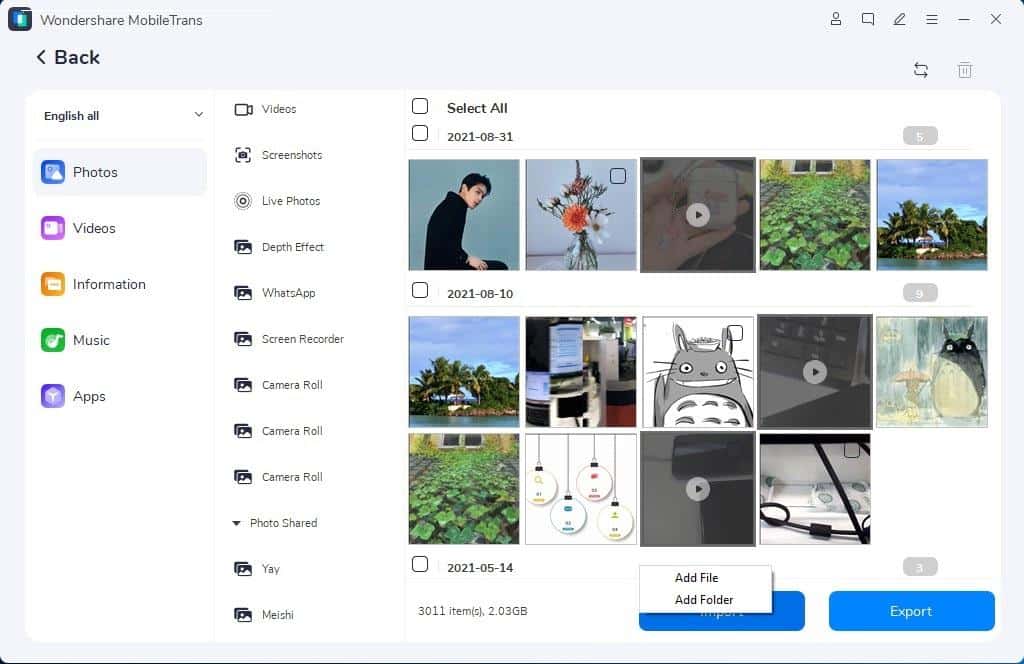
Click Import to transfer photos from PC to iPhone. It’s that easy!
App 3: iCloud For Windows
If you are using iCloud Photos or would like to use iCloud Photos or would like to have your photos synced to iCloud for viewing on any of your Apple devices connected to the same Apple ID, then you can use iCloud For Windows.
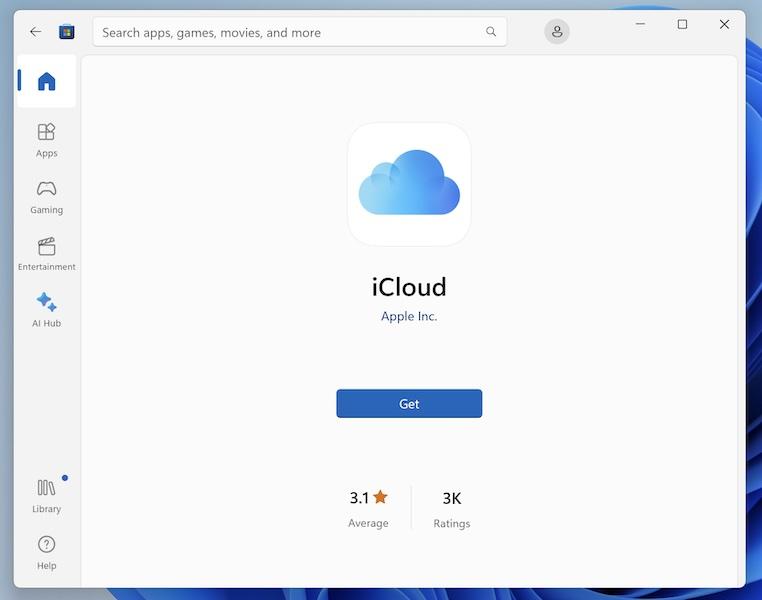
Step 1: Download iCloud for Windows from the Microsoft Store.
Step 2: Sign into your iCloud account and select Photos to sync photos from your PC to iCloud.
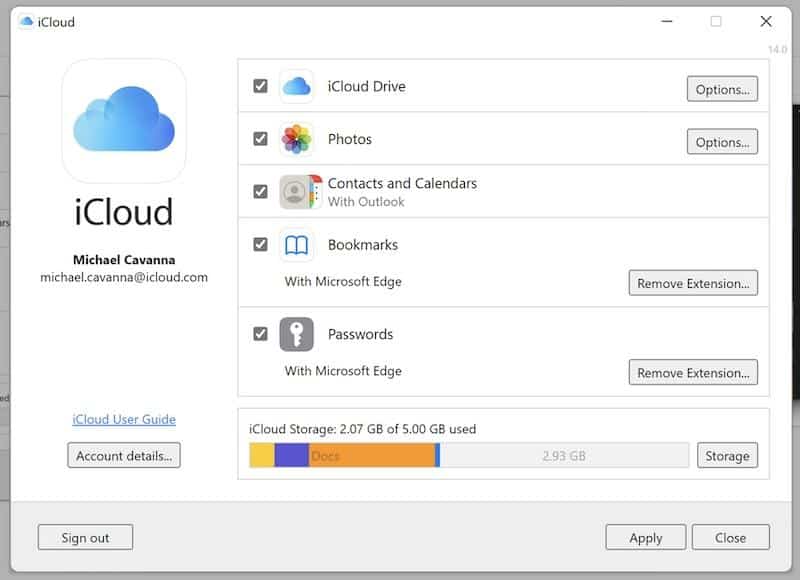
Photos synced to iCloud will be available in the Photos app on your iPhone.
App 4: Microsoft OneDrive
OneDrive comes integrated with Windows, and it is easy to use OneDrive to transfer photos from PC to iPhone. If you use a Microsoft 365 license to use the Office desktop apps, you are getting 1TB of storage in OneDrive bundled with that license, so why not put it to good use?
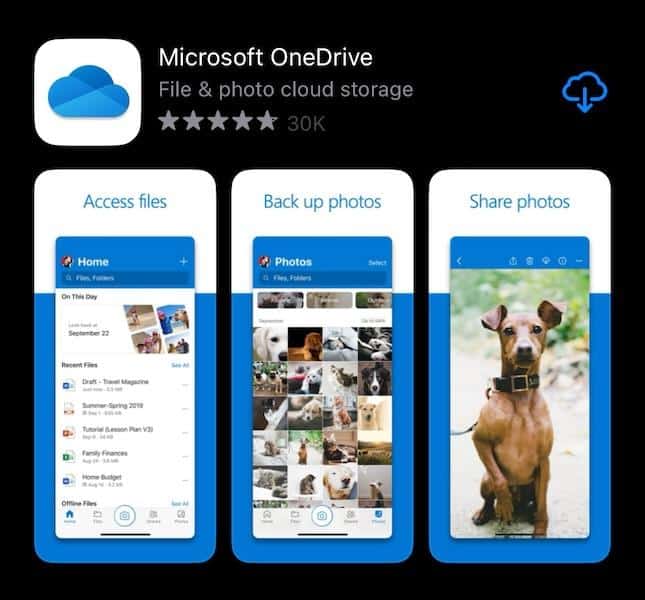
Step 1: Download OneDrive on your iPhone from the App Store.
Step 2: Sign in using the Microsoft account you are using on your Windows PC.
Step 3: Tap your profile image and go to Settings > Camera Upload.
Step 4: Turn Camera Upload ON and tap Include Videos to sync videos, too.
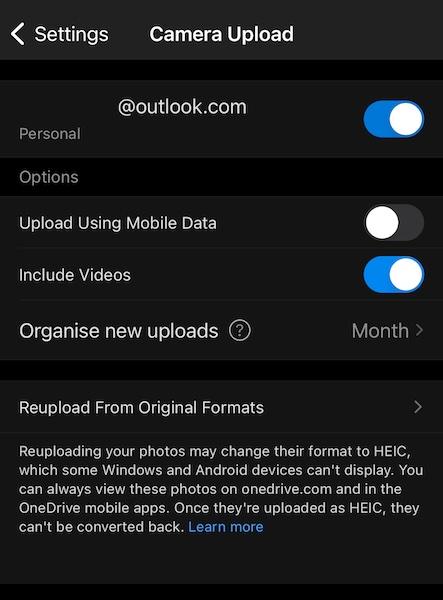
Now, photos on iPhone will be synced to OneDrive and will be available in the Windows Photos app on your PC, and you will be able to access photos from your PC in OneDrive on iPhone by tapping the Photos tab at the bottom.
App 5: Dropbox
Dropbox remains one of the world's most frequently used file-sharing apps, and most of us are familiar with it. Here’s how to use Dropbox to transfer photos from PC to iPhone.
If you are sharing a folder full of photos in Dropbox, you can sync photos from that folder everywhere you use Dropbox, including on the iPhone. And you can use Dropbox to sync iPhone photos to a PC as well.
Step 1: Install Dropbox on your iPhone.
Step 2: Sign in using the Dropbox account on your PC.
Step 3: Tap Accounts > Features > Camera Uploads.
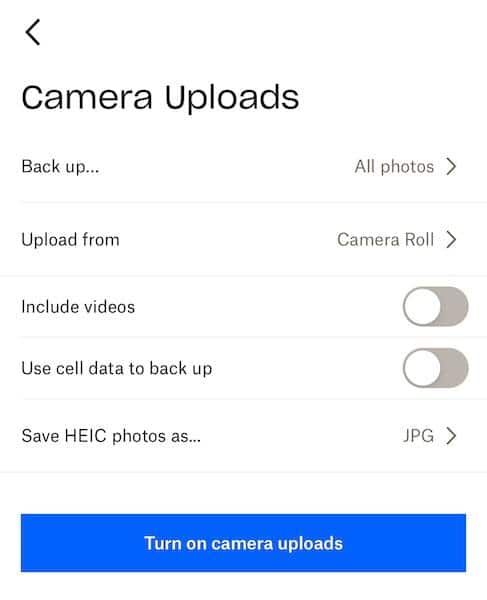
Step 4: To include videos in your uploads, tap Include Videos. You may choose to use cellular data to keep contents synced. Next, tap Turn On Camera Uploads.
This will allow your iPhone photos to sync to Dropbox.
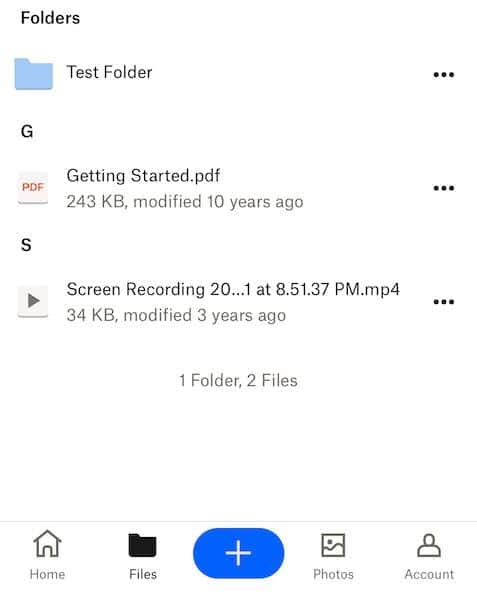
Step 5: To access the folder full of photos you shared on PC, tap Files and the name of that folder.
Other Apps
There are other apps on the internet that are similar to Wondershare MobileTrans, such as iMazing, MobiMover, etc. However, none are as polished, well-supported and feature rich as MobileTrans. Therefore, we are not mentioning them.
Part III: Comparison Table
For a quick primer, here is a comparison table outlining key features and capabilities of the apps mentioned above.
| FEATURES | iTunes | MobileTrans | iCloud App | OneDrive | Dropbox |
| Easy To Use | Clunky and outdated | Yes, modern visual interface | Yes | Too many steps | Too many steps |
| Photo Transfer | Yes (local) | Yes (local) | Yes (cloud) | Yes (cloud) | Yes (cloud) |
| Videos Transfer | Yes (local) | Yes (local) | Yes (cloud) | Yes (cloud) | Yes (cloud) |
| WhatsApp Transfer | No | Yes | No | No | No |
| App Transfer | No | Yes | No | No | No |
| Messages Transfer | No | Yes | No | No | No |
| Android Device Support | No | Yes | No | Yes | Yes |
From this table above, the picture becomes quite clear as to which app takes the crown for being the top PC to iPhone photo transfer app in the market. However, it must be said that individual use cases vary, so the way that works best for you is the best for you, no questions asked!
Closing Words and Recommendations
There is no such thing as the best because everyone has different needs and based on those needs, they might find something better suited to their purpose than another. For example, if all you want to do is transfer photos from PC to iPhone and you use iCloud Photos, then the simplest thing to do is get the iCloud for Windows app.
But, as the comparison shows, if you need anything more than that, anything that can scale up with your ever-evolving requirements, you must use Wondershare MobileTrans – a complete data transfer app for iPhone and Android, running on both macOS and Windows. It just does not get better or easier than this!