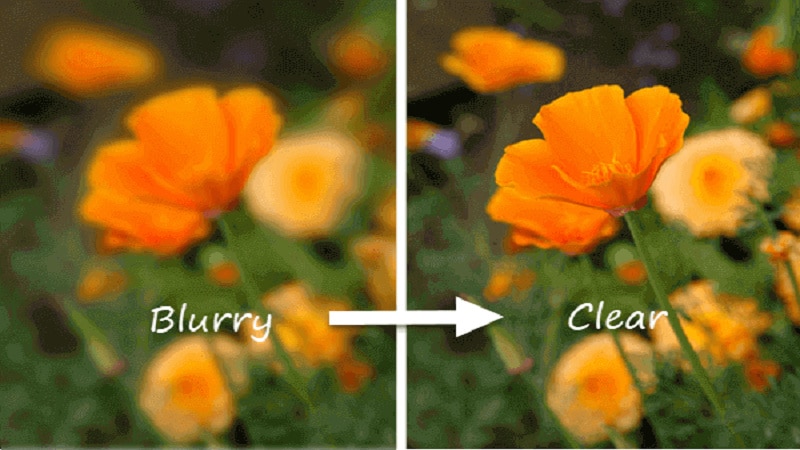
Have you been let down by blurry pictures that ought to have told beautiful stories?
Worry not, this isn’t an irreversible problem. Today, we’re going to dive into simple ways to help you figure out how to fix blurry pictures.
1. Using Photoshop to Repair the photo
It is possible to unblur a photo using the marvelous application that is photoshop, one of its many useful tools. Here’s how you do it:
- Visit the ‘Filter’ menu.
- Once opened, select ‘Sharpen’.
- Opt for the ‘Shake Reduction’ filter. This analyzes the image.
- A message appears on the screen indicating the scanning process has been completed.
- The photograph will most likely become clearer and your issue is resolved.

2. Leveraging Android and iPhone Repair Capabilities
Photoshop isn’t the only method you can use to fix the problem. In fact, your Android or IPhone themselves are equipped with similar capabilities. Welcome to the wonders of modern technology!
If you’re using Android, here’s all you have to do:
- Visit the ‘Settings’ on your phone.
- Select ‘Applications’, and opt for ‘Application Manager’.
- You are presented with the ‘All’ tab when swipe left. Select it.
- Find the ‘Camera App’ option. Select it.
- Choose ‘Force Stop’ to close the new tab that appears after that.
- Check the results after the Camera App has been reopened.

If you’re using your iPhone, follow these simple steps:
- Double click on the home button.
- If you have an iPhone 8 or an earlier version, simply open the app switcher. If you’re using an iPhone X or a version after, swipe up to the screen’s center.
- From the top of the screen, swipe away the camera app to enable it to close.
- Once the camera is reopened, there’s a good chance the photos will get refined, if the blurriness has been caused in the first place by the app crashing.

3. Opt for a Professional Tool
When you choose a professional tool to repair photo, you are essentially choosing to optimize your time. You can sit back and relax while the professional software does its job. That’s where Wondershare Repairit comes in: here is your reliable partner in the world of photography.
Here’s all you have to do:
- Download and launch Repairit.
- A button on the center of the screen says ‘Add’. When you choose it, the local image from your system is added for repair.

- Select repair. Within a few minutes, the tool will have completed the process.

- Upon completing the repair process, it will present to you the list of items that have undergone the process. You can preview and review each file, and mark the ones that you want to restore.
- Did you select the ones you want restored? Now, all you have to do is ‘Save Repaired Files’, and save them in the location of your choice.

Conclusion
The most incredible thing about using a professional tool to repair blurry photos is that it gives you the opportunity to further enhance a whole lot of photographs that you may have first deemed “unusable”. This is no small thing, as it makes it possible for a new era of amateur and professional photography to blossom.
Wondershare Repairit is your long-term partner and solution for repairing photographs. You can take a step back and allow it to do its job quickly and effectively. What are you waiting for? Get yourself acquainted with the ins and outs of this state-of-the-art tool.