What is the best way to digitize your family archives of videos and photos? Here we collected some tips for you.
Do you have old photographs and VHS tapes that are sitting at the back of a dark cupboard? Consider digitizing them, so you can share your memories with friends online or keep safe copies on your computer. You don’t have to be a tech-savvy person to get the job done.
In this guide, we’ve provided the best tips on how to digitize photos and videos using the correct software and tools. You’ll find ways to create quality copies of your favorite memories to save on your computer or your smartphone. Keep reading to find out more!
Why Should You Digitize Photos and Videos?

If you have a grandparent or parents who’ve got old photographs from their younger years, you may want to share them with the world on digital platforms. Here are other reasons you should convert VHS videos and photos into a digital format:
- Photo and video damage: It’s easy for physical photos and videos to get damaged either by disasters such as a fire or if someone spills liquid on them. If you digitize your photographs and videos you can keep a safe copy in cloud storage such as Google Photos.
- Videos and photos take up space: Boxes of photographs and VHS tapes can take up valuable space in your home. If you digitize them you can clear up storage space for more important items.
- Preserve history: Some grandparents and parents of millennials served in wars. Others traveled when technology wasn’t as advanced. By digitizing your home videos and photographs you can preserve history and share what the world looked like in the early 1900s with the younger generation.
- Easy editing: Modern technology has allowed people to edit old photographs and video footage easily. Once you’ve converted your images and videos into a digital format you can change their colors, apply filters and even add extra details to them.
Tips to Digitize Photographs
There are several ways to convert your photographs into a high-quality digital format. In this section, we’ve provided the best way to scan photos using various platforms and methods.
Use a Photo Scanner
Photo scanners have become quite popular over the years because they can convert important documents into a digital format. You can now scan photographs in full color and edit imperfections such as tears or pixelated textures.
The best way to scan your photos into digital format is to use a flatbed scanner. This type of scanner won’t damage your original copies and will only need a PC or laptop to work. If you have negatives then you should use a photo scanner such as the Epson Perfection V600.
You can also get photo scanners that can process 4 to 6 photos at a time. The type of scanner you choose will depend on your requirements. Once you scan your images, you can then keep a digital folder of your family’s archives on your PC.
Take Pictures of Your Photos Using a Smartphone
If you’re not too worried about quality or angles, you can take a picture of your photograph using your smartphone. Ensure you have your flash off because it will reflect on the photograph and block out the image on your phone.
The only downside to this method is that editing is limited. You can’t edit the photograph directly. However, taking pictures of your old photographs is a quick and affordable way to digitize them. You can then upload them onto social media or send them on chat groups to friends and family.
Use a PDF Scanner on Your Smartphone
If you can’t afford a photo scanner you can easily get the task done using specific apps on your smartphone. Adobe Scan is a smartphone app that is designed to scan ID cards, documents, or books. But you can also use it to scan your photographs in color. Simply follow these tips:
- Download Adobe Scan onto your smartphone
- Open the app and familiarize yourself with all the options
- Choose a photograph and lay it down on a flat clean surface
- Ensure there’s excellent lighting in the room
- We recommend using the document scanner on the app for this task
- Point the camera to the photograph and allow the blue dots to touch the corners of the photo
- Adobe Scan will automatically digitize your photograph
- You can then save the image
If the file is saved into your documents' folder you can move it to your gallery. In your gallery, you can edit the photo by adding filters or changing the brightness of the image. This method works for school projects, finding missing family members or pets, or simply sharing photographs online.
How to Digitize VHS

Learning how to digitize VHS is slightly more complicated compared to converting photographs. This is because you’ll need the correct software and hardware for the task. Here are tips to get you started.
Hardware and Software You’ll Need
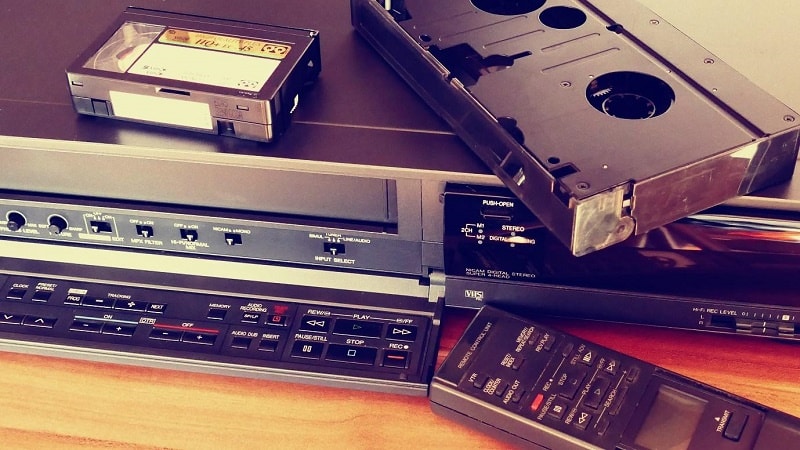
The first device you’ll need is a working VCR (Videocassette Recorder). You can easily find one of these at a shop that sells old electronics or use a marketplace such as Craigslist. Or find a second-hand VCR on eBay or Amazon. Find a VCR with audio and video composite jacks.
Additionally, you’ll need a USB-to-composite video converter and a PC or laptop with a USB port. Brands such as StarTech sell decent adapters that are affordable. Ensure that you have software installed on your PC that can convert your video. Once you have all your components follow these steps:
- Install the transfer VHS to digital format software on your PC or laptop
- Plug the USB side of the converter into your laptop or PC
- Plug the red, white, andyellow cables into your VCR
- Ensure the VCR is plugged in
- Put the VHC tape into the VCR
- Rewind your tape so it starts at the beginning
- Press play on your VCR and then hit record on the software from your PC
You can either watch the process or leave the recording running while you do chores or read a book. The software you install can convert your VHS into formats such as MP4. You can then save the new digital video onto a hard drive or cloud storage and share it via YouTube or Rumble. Additionally, you can edit your video by adding subtitles or effects to scenes.
An Alternative: Take a Video Recording On Your Phone
If you’re not worried about the quality of your recording, and you simply want to share a short snippet of your VHS video then use your smartphone to capture a scene. Simply go to your phone’s camera and start recording parts of the video on your phone.
To improve the quality of your recording, ensure you adjust the settings on your TV screen, so the picture is visible. Furthermore, ensure the room is dark so that only the television can be seen. You may need to adjust some settings on your smartphone so that you can take clear footage.
Final Thoughts
To convert VHS to a digital format requires extra hardware and digitizing software. But once you have your set-up you can convert all your tapes to a format of your choosing. Converting photographs is easier because it doesn’t require additional hardware. You only need your smartphone and the right apps. Use the tips in this article to assist you with digitizing photographs and videos.