When you use Adobe Photoshop for logo design, the horizontal text sometimes makes people feel tired. Hence, the curved text is needed to achieve some unique visual effects. This article describes four ways to achieve this effect
At times just having plain text may seem unpleasing. Hence, you can add some curved text to add spice to your designs to push your message to your audience vividly. In this article, we will share four steps in which you can curve text perfectly on Photoshop.
1. Creating Smart Objects
Step 1: Open your Photoshop software, click File > New to select the dimensions you want for your design in the workspace. Next, select the Type tool and type your text.


Step 2: If you already have a design. Select the text layer, go to Layer in the top menu bar, select Smart Object, and select Convert to Smart Object. You can also highlight the text, right-click and create it as a smart object.

Step 3: Then select Edit on the menu bar, choose to Transform, then Wrap.

Step 4: A grid will then appear to choose options you can use to manipulate the text. In the options bar, you will see Wrap, click the dropdown and choose ‘arc.'

Step 5: You can edit the curve anywhere you want using the grid. Also, ensure you save the changes.

2. Create a Path Using a Pen Tool
Step 1: Open your Photoshop software. Create a New document by selecting File > New. If you are already working on a design, grab the pen tool (P) from the right bar taskbar.
Step 2: Make sure that the mode is set to path. Change the pen tool mode to the path by clicking on the second option on the menu bar when you have the pen tool selected.


Step 3: Click somewhere on your workspace to create the starting point of the curve and find the spot where you want the curve to end. Click and hold till the end.


Step 4: Drag the point to turn the line into a curve using the pen tool.

Step 5: Once you are done, click somewhere else on the canvas to deselect the path. Choose the Text (T) tool.


Step 6: Place your cursor over the start of the curve. When the cursor changes, click to turn the curve into a text area.

Step 7: Now, write the text along the path as you would usually. Then hold control and press enter to deselect the text.


3. Text Transform Tool
Step 1: Open your Photoshop software, choose the dimensions of your workspace. If you already have an existing image, click open and select it from your device.
Step 2: Create a blank layer and use the Text Type Tool (T) on it.

Step 3: Select the “Wrap Text” tool in the upper right corner. Alternatively click on Edit > Transform> Wrap.

Step 4: In the wrap Settings: Select the wrap style and wrap degree.

Step 5: This method will deform the font itself. If the transformation degree is too large, it will still be. Adjust it until it meets your preference.
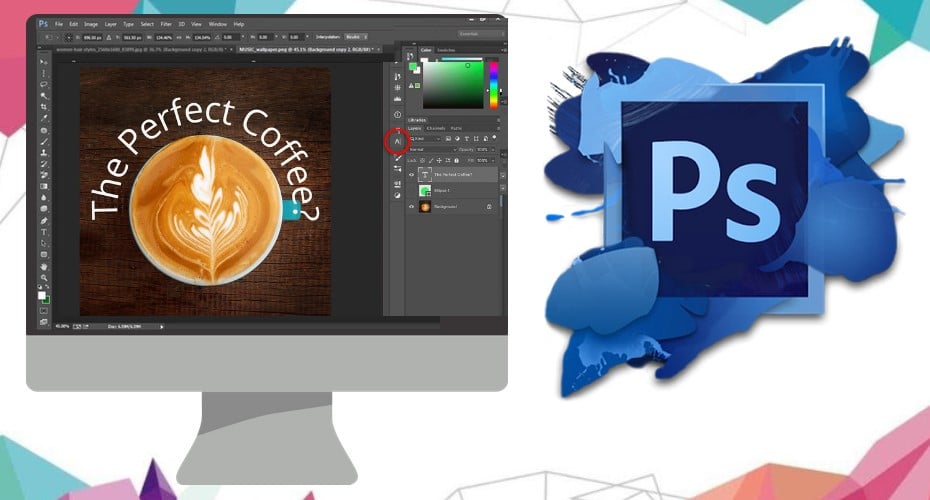
4. Create a Path Using Ellipse Tool
Step 1: Open Photoshop Software, click File > New if you are creating a new document. If you were designing the image already, select the ‘Shape' mode in the toolbar.
Step 2: Select the Ellipse Tool (U) and draw an ellipse of a dimension of your choice.

Step 3: Select the text tool and click on the ellipse's edge when you see the Text cursor change to the “Text on a Path” cursor.

Step 4: Type your text. When done, hide the ellipse layer by clicking on the eye icon on the specific layer.


Things to Watch Out for When Bending Fonts
The distortion of the text should not be too great. Otherwise, it will affect the recognition. Make reasonable use of curved text and horizontal text collocation to make a better design effect. If you use too much curved text, you may make your image design look unpleasant. Choose a method that will work best for you according to how you want to curve text on Photoshop. Also, ensure the text remains readable and doesn’t lose sense.