Having yellow teeth should not deter you from smiling in a photo. However, it doesn't matter anymore, there are ways you can use to whiten your teeth in Photoshop. Smiling helps make you look more confident and lively. You don't have to keep your mouth shut again when taking a picture.


Do you normally smile while taking photos? Smiling makes pictures have a beautiful feel and look. However, if you have yellow teeth, you may be tempted to keep your mouth shut when taking photos. However, you don't have to worry about that anymore; you can use Photoshop to whiten teeth in your photos. There are a couple of steps you can take to rectify this. The critical thing is to ensure you don't exaggerate the whitening of the teeth to maintain their natural nature.
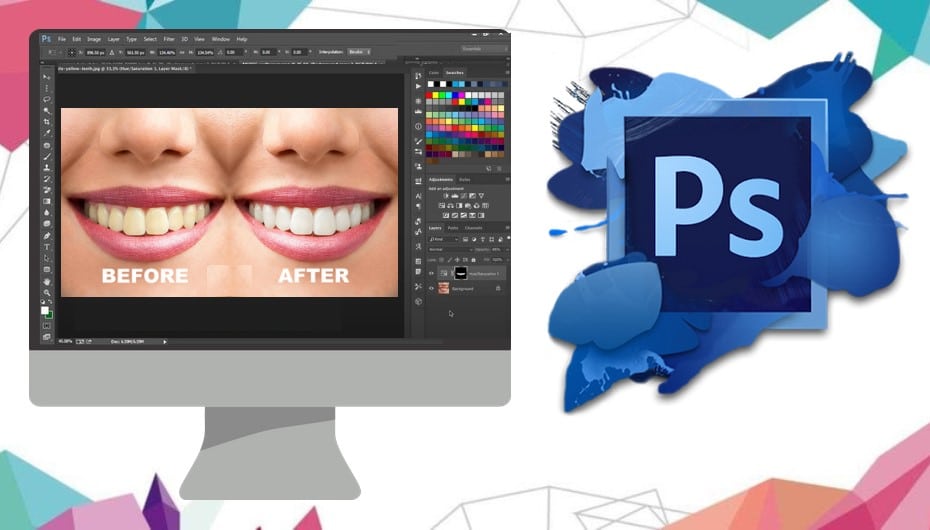
Steps to Take to Whiten Teeth in Photoshop
1. Choose the Teeth
Our main target is the teeth. First, open your Photoshop software, choose the image and place it on the right dimensions of the workspace. Also, make a copy of the image by right-clicking on the layer and choose duplicate. Duplicating an image helps when you want to get the original image or even when comparing the images.

You can use the Lasso tool or Magic Wand tool to select the teeth perfectly. If the selection tool is not accurate, you can hold down the Alt key and click to increase the selection according to the teeth. Similarly, hold down the Shift key and click to decrease the selection.


After selecting the teeth, create a layer mask. This will help when erasing the edges. We also recommend that you feather by two pixels. To edit using the feather option, use the shortcut key; Shift + F6. This helps soften the edges of the selection. They will fit more closely with the edge of the teeth and gums. Moreover, ensure you choose all the teeth that are visible for uniformity but don't leave a part behind.

2. Select Hue/Saturation
Earlier, we discussed how changing the color of an object can also be applied to whitening teeth. Hence, click on the image layer you are working on, ensure it is selected, and click on the “Create new fill or adjustment layer” option. Choose “Hue/Saturation” to create its layer.

The hue/saturation layer will appear above the background layer. It will automatically create layer masks from the teeth we've selected, so everything we've done on it will only apply to the teeth.

3. Adjust Colors
The hue/saturation adjustment layer controls and options are found in Photoshop's Properties panel. The hue/saturation option affects all colors in the image because it is set to Master by default.

On the menu bar on the right, while the hue/saturation layer is selected, click the drop-down menu of “Master” and select “Yellows” to lower the yellow nature of the teeth using the slider. Drag the saturation slider to the left, and you will see the teeth whitening.

However, when you can't make the teeth whiter while the setting is set to “yellows”, you can choose “blue” because they are complementary colors. Also, to make the whitening look natural, it is recommended that you keep some of the colors.

4. Soften the Edges
After altering the brightness, and saturation, select the brush tool and set the foreground to black. Then, you can now perfect the selected area to erase some edges of the teeth and gums.

You should make good use of the brush tool by making the brush softer, adjust the brush opacity, transparency, and size. Also, ensure the brush size suits the surface area you want to rectify. While whitening the teeth, be careful not to erase any part that is essential in the photo.

Once you make all the rectification using the brush tool, take the repair tool to remove some stains on the teeth. Also, zoom in and out to ensure you see all the parts perfectly.

5. Brighten Your Teeth
Click on the adjustment layer icon, and choose curves. After creating a “Curves Adjustment Layer”, hold down the Alt key and click between the layers. This effect only works on the current layer with Hue/Saturation, not on the background layer.


The next step is to move the curve up a bit to whiten the teeth. Locate the middle of the curve and move it up to bulge outwards.
While whitening the teeth, ensure not to miss even a specific section to ensure it remains as natural as possible. After making all the adjustments, save your image, and you can even compare it with the original photo to see the changes you have made.


Bright white teeth always make you stand out in photos. A beautiful and confident picture will always get you more attention on social media platforms. In summary, to whiten teeth in Photoshop, select the teeth using the Lasso tool. Then create a hue/saturation adjustment layer, change the edit option from master to yellows. Reduce the yellow color in the teeth using the slider, then use the brush tool to paint around the teeth on the layer mask to hide the effects of the adjustment layer.