Do you want to try turning a red dress into blue, or a pink flower into purple?This tutorial will teach you how to replace color in photoshop on and ensure maximum fidelity


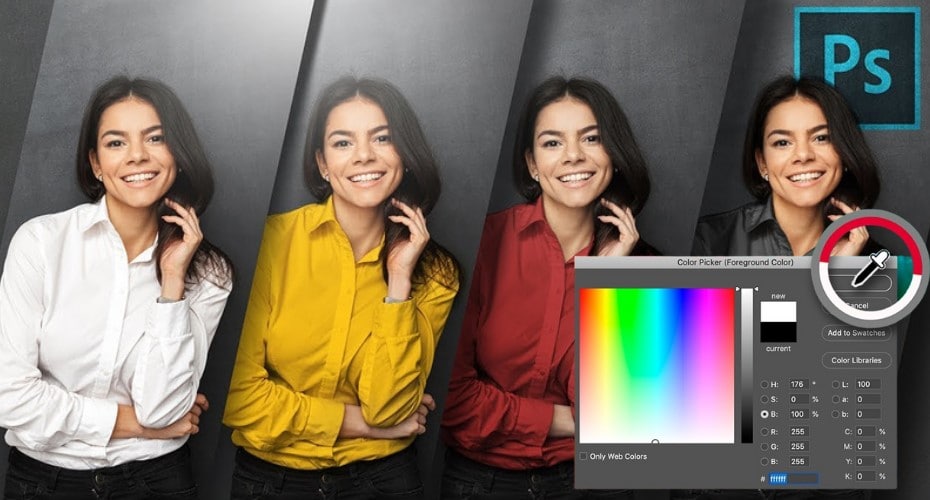
This is a very useful Photoshop technique. If you control this technique, you can replace any color on your clothes. Also, you can also apply it to any photo. Let's see how it effect first.

If your profession is photography, then this is the best option if you are interdisciplinary in your workflow. While editing, you have to concentrate on every detail of the respective image, no matter how small it is. For example, when trying to replace color on your photos.
You have to be very keen since you might be changing the color of the shoes, which would maybe alter the natural color of grass, which would make it look somehow unrealistic. Therefore, the smallest things do matter in this case of Photoshop.
Here are some methods to use while replacing colors using Photoshop:
1. Method A: Select Color Tool
Step 1: In this method, you start by opening the original image and a copy layer.


Step 2: You are then supposed to click where you want to replace the color. In the lower right corner, it will prompt you for the selected color. In the case that the check box is not correct, you can use the “+” or “–“sign Eyedropper Tool to make your desired adjustments.

Step 3: The next step is to drag the hue slider to change the color, or you can choose the color you want directly in the lower right corner.

Step 4: Adjusting the saturation and lightness makes the images look more natural.
Point to note: if the portrait turns red or white, you can copy a layer of the original image and place it at the top of the Layers Panel and erase it with a mask.
2. Method B: Color Adjustment Layer
Step 1: In this method, start by duplicating the image using Ctrl + J.

Step 2: Create an adjustment layer and the saturation adjustment layer.

Step 3: Analyze the color of your picture; for example, if the model’s attire is yellow or green, then select adjust the yellow to green option whereby you will notice that the whole portrait will change color too. It will change back later, therefore no need to worry.

Step 4: Use the Quick Selection Tool to correct the color range for inaccurate items. The shortcut “Shift + Alt” can be used to increase selection.

Step 5: On the Adjustment Layer, create a Layer Mask so that the clothes you checked are white so that the rest of the colors are restored.

3. Method C: Color Replacement Tool
Step 1: First of all, you have to copy the photo or duplicate it.

Step 2: You also have the option of using the Magic Wand Tool to select different tools depending on the style of your photos.

Step 3: Select the “Color Replacement Tool” from the Brush Tool.

Step 4: In the bottom left panel, select the color you want in the foreground color and paint directly in the selection.


Step 5: If there is no selected color area on the edges, adjust the brush size and hardness down to erase.

In Photoshop, the Color Replacement Tool is the quickest way to make a color change. It works by sampling the original colors and replacing them with your selected foreground color. Changing colors is a handy and straightforward feature of Photoshop, and it can bring many creative changes to your photos or designs.