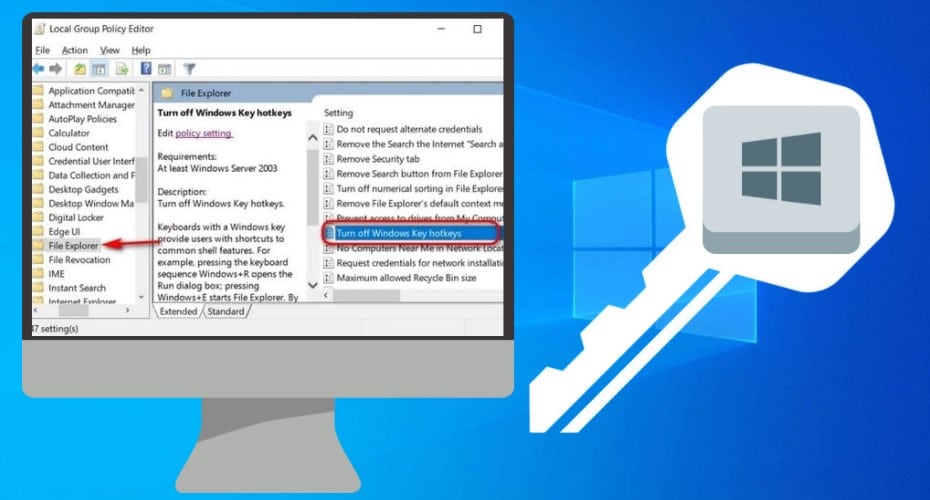
Windows key in combination with other keyscan be used as a shortcut. However, sometimes it can cause a lot of trouble while gaming. This is how to disable windows key temporarily to prevent any issues or errors.
The Windows Key acts as a shortcut to open the run command and start menu. It is a function key that is found in all PC keyboards. If you just press the Win Key alone, it opens the start menu.
However, if you use a combination of other letters, it will provide shortcuts to several Windows functions. The Win Key is essential as it speeds up many tasks.
1. Disable Win key in the registry
This is how you can disable the Win Key in the registry:
Step 1: Use the Windows + R key to open the run box. Type regedit.exe

Step 2: Navigate to

Step 3: On the right-side panel, right-click on the space and select New -> Binary Value
Step 4: Rename the created entry as Scancode Map. Right-click on it and click Modify.

Step 5: Type in the following values manually (copy-pasting the values will not work), and click OK.

Step 6: After you are done, close the editor and restart your computer. When the computer restarts, the Win key will not be active.
 Note: When you want to enable the Windows key, simply delete the Scancode Map entry created in the Registry Editor.
2. While still in the registry editor
Step 1: Navigate to HKEY_CURRENT_USER\ Software\ Microsoft\ Windows\ CurrentVersion\ Policies.

Step 2: In the right-side panel, right-click on the space and select New > DWORD (32-bit) Value.
Step 3: Right-click and select “Rename”. Rename the created entry as NoWinKeys
Step 4: Then,right-click and select modify, then set the value to 1.

Step 5: Close the editor and reboot your computer. When it restarts, the Win key will be turned off. If you want to re-enable, just delete the NoWinKeys entry.
3. Group policy editor
This is how you can disable the Win Key in the group policy editor.
Step 1: Press Windows + R key to open the run box and type gpedit.MSC.

Step 2: Navigate to User Configuration > Administrative Templates > Windows Components > File Explorer.

Step 3: In the right panel, double click on the Turn off Windows Key hotkeys policy to edit it.

Step 4: Select the Enable option and click “Apply”and then OK.

Step 5: Reboot the computer to apply the changes.
4. Win kill application
WinKill is a simple and open-source application that makes it possible to disable the Win key with a single mouse click. The application uses almost no resources and sits in the system tray. You do not need to install anything on your computer other than WinKill 0.3 (The current version).
Step 1: To get WinKill, simply go to the official website here on Major Geeks.
Step 2: Navigate to System Tools> Input (Mice, Keyboard)>WinKill 0.3> Download Now

Step 3: After the download is complete, run the application. The application will be found in the system tray located on the bottom right of the screen.
Step 4: To disable the Win key, simply activate WinKill.
Step 5: To restore the Win key deactivate WinKill.
The application is not that complicated. When playing games, this is a very useful tool since you will not have to edit the registry. Additionally, it is a time saver.
5. Select IKBC keyboard

Some keyboards provide an onboard function to disable the Win key. The IKBC keyboard can lock the Win key through key combination, fn + left key to lock.
To unlock, use the fn + right key (some are Fn+F9). As a bonus, it is a mechanical keyboard that sounds amazing, feels good while using, and has proper key travel.
The Win Key helps to open the start menu. This can be troublesome when you click it accidentally when you are gaming. Hence, it can easily make you lose focus of the game.
Thereby, disabling the Win Key can seem reasonable. You can either use any of these methods or use the WinKill application to disable it.

 Note: When you want to enable the Windows key, simply delete the Scancode Map entry created in the Registry Editor.