Ever seen an error message on your screen saying “DNS server is not responding?” This articles provides a detailed solution for this and other related DNS server problems. Read on for the details.
What’s DNS?
The acronym DNS stands for Domain Name System. And what’s that? The Domain Name System is basically an internet service that matches domain names with IP addresses. So, here’s how it works. Whenever you visit the web, you type in the name of the website in the address bar of your browser.

The DNS then requests the server to identify the site with a corresponding IP address associated with the website then you can access the specific website. So, the DNS works pretty much like a translator between you, the end-user, and the target website.
How to Solve the “DNS Server Unavailable” Problem
There are a couple of methods to go about it. Below are six of the most common quick fixes you may want to try out.
1. Restart Your Router and Modem

A common cause of DNS server error is if the router or modem experiences a temporal malfunction. Fixing this is super easy. All you need to do is restart the device by pressing the power button till it turns off then turning it on again. Alternatively, you can just restart the router or modem via its utility app, if it has one. In most cases, a simple restart of your device should be able to fix the DNS server errors. If not then you may want to try the next method.
2. Remove the DNS
There are different methods for removing DNS. Here, we’ll discuss two methods. The first one involves the use of CMD or PowerShell and the other method involves the use of a command prompt. We’ve discussed the details for each of the methods below.
Using CMD or PowerShell
Here are the steps to follow when you want to clear the DNS cache on Microsoft Windows.
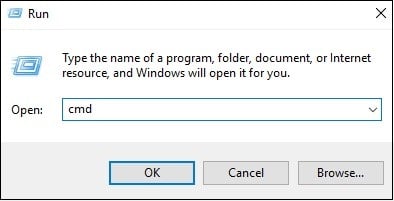
Step 1: Click Start> Run, then type “CMD” then Enter.
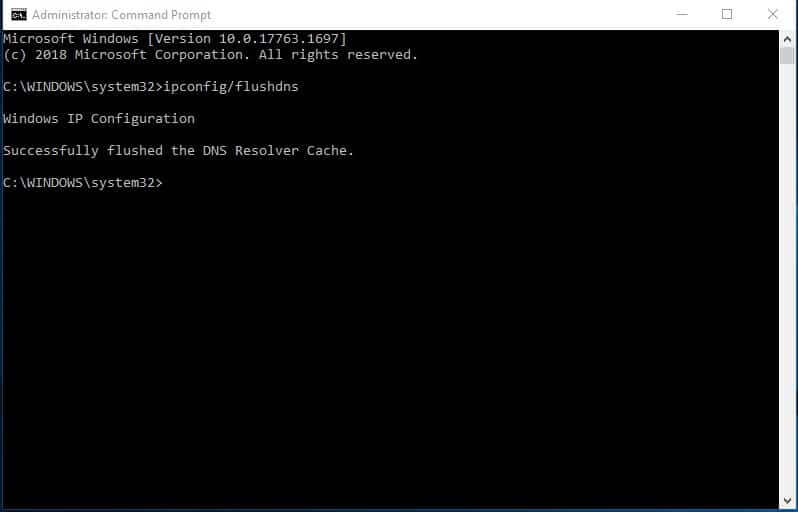
Step 2: Input the following DNS flush command then press enter: ipconfig/flushdns.

Step 3: Press enter and that’s all. Your DNS cache is now removed.
Using PowerShell
The procedure for removing DNS using PowerShell might seem complex for a beginner. However, if you stick around to the end, you’ll find out that it is in fact very simple. So, here’s the whole process.
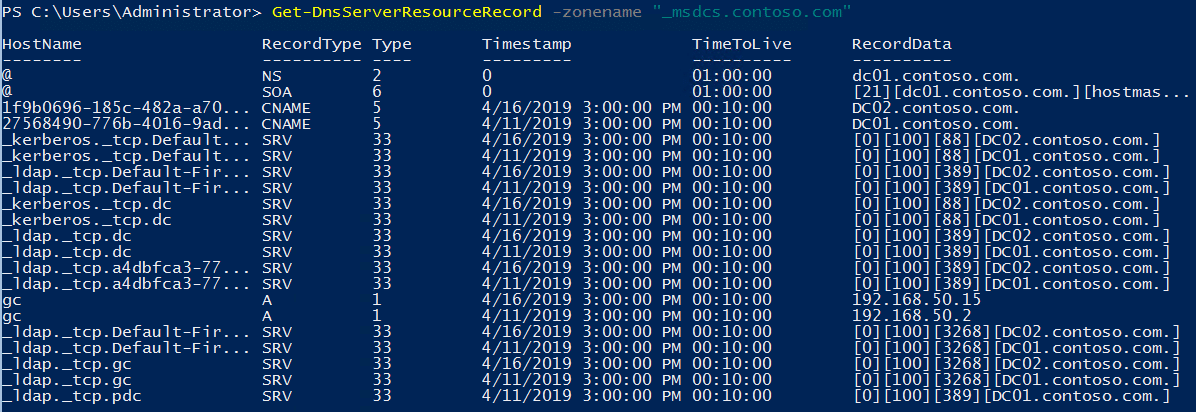
Step 1: You’ll need to create an array of all the records that you wish to delete.
Use this command:
$dnsrecords=Get-DnsServerResourceRecord – ZoneName “-msdcs.contoso.com”.
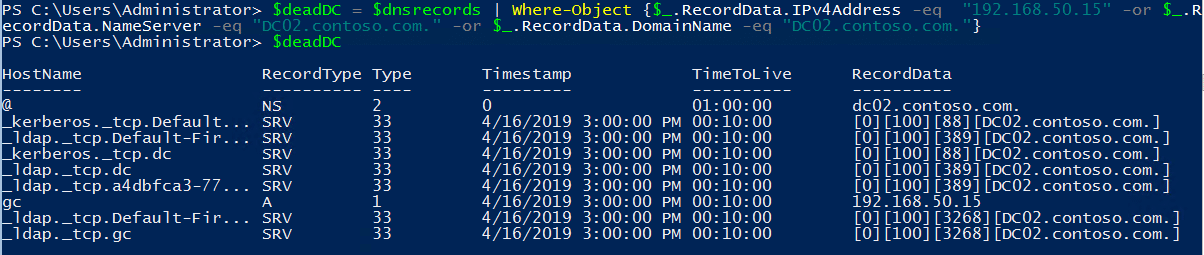
Step 2: Filter attributes available in the RecordData record sets for IPv4Address, NameServer, and DomainName.
Use this command:
-$deadDC = $dnsrecords | Where-Object {$_.RecordData.IPv4Address -eq “192.168.50.15” -or $_.RecordData.NameServer -eq “DC02.contoso.com.” -or $_.RecordData.DomainName -eq “DC02.contoso.com.”}
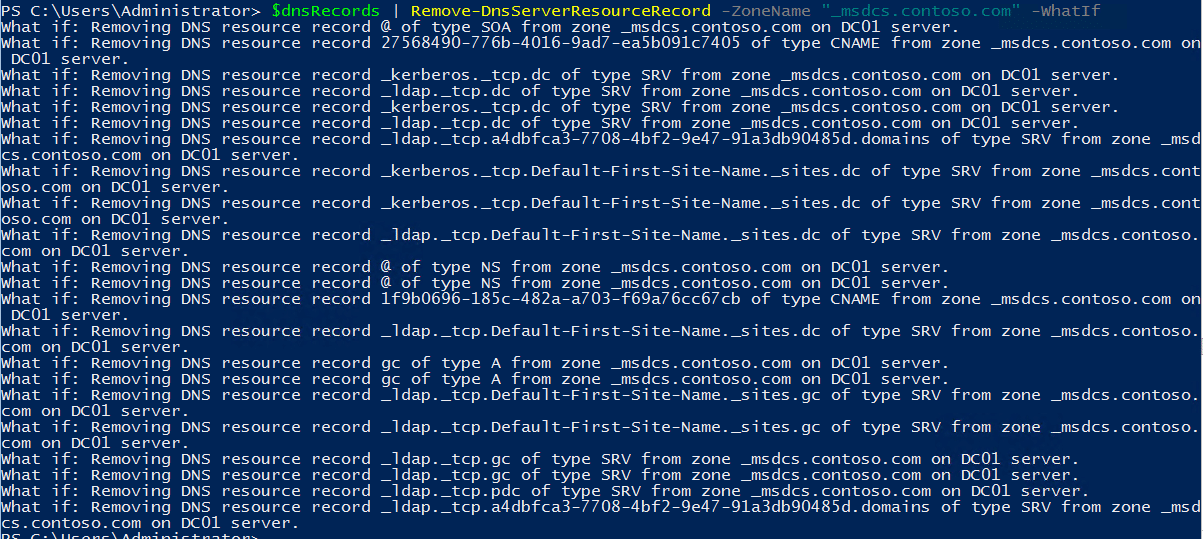
Step 3: delete the DNS records. Use this command:
$deadDC | Remove-DnsServerResourceRecord- ZoneName “_msdcs.contoso.com”- force
3. Change DNS Server Addresses
Another great way to fix DNS server errors is to change the DNS server address. Here’s the procedure of how to go about it on windows 10.
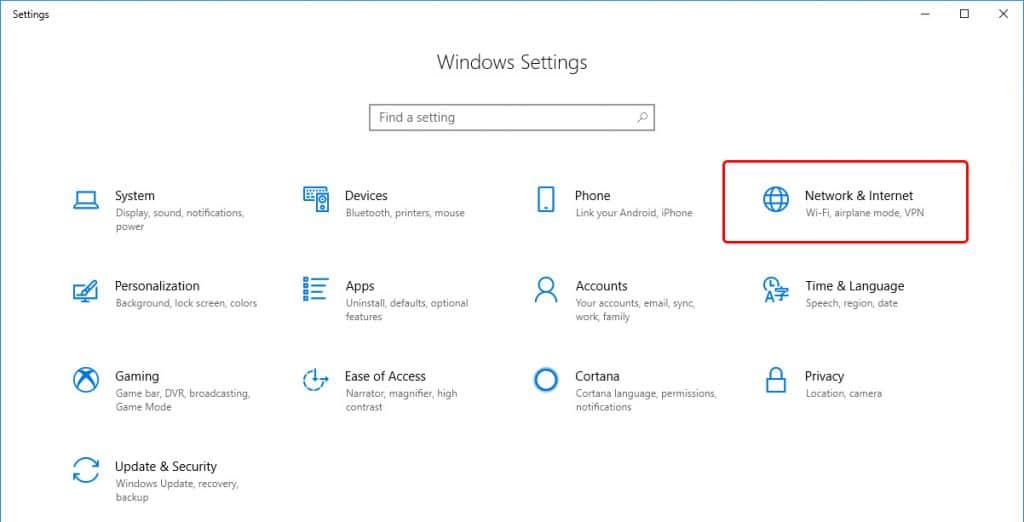
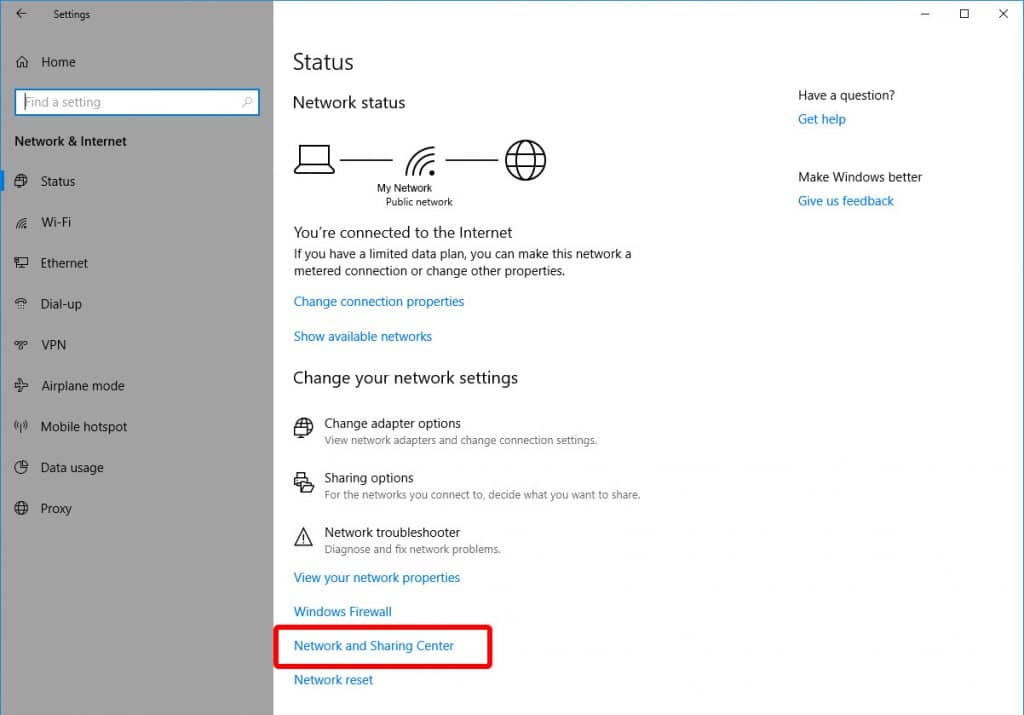
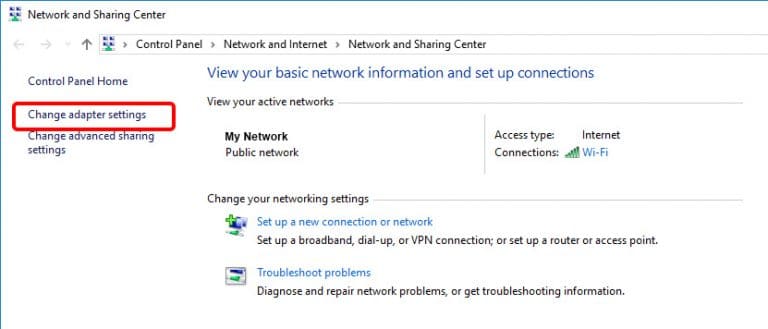
1. Change the adapter settings as follows:> Network and Internet> Network and sharing center> change adapter settings.
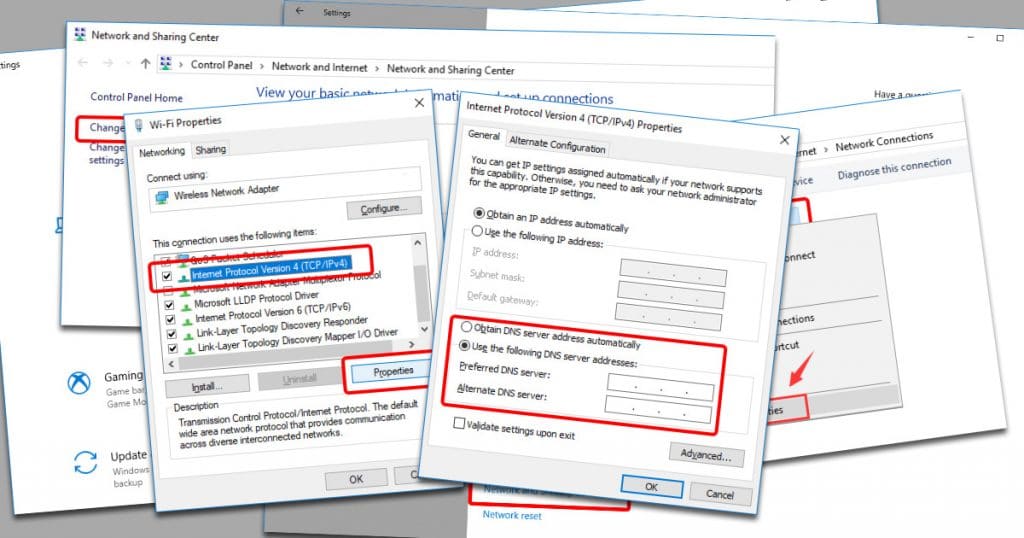
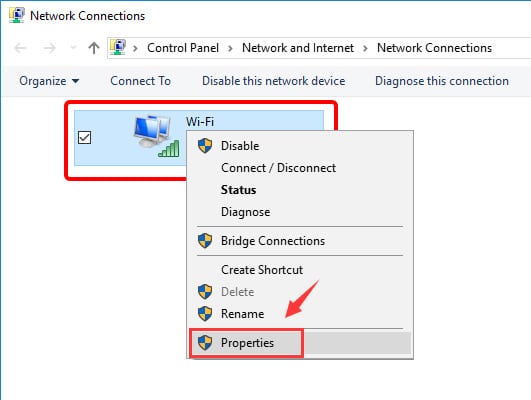
2. Choose and configure google public DNS for either Ethernet or wireless connection. For Ethernet connection, right-click on the Ethernet interface then choose “properties”. For a wireless connection, right-click on the Wi-Fi interface and choose “properties”.
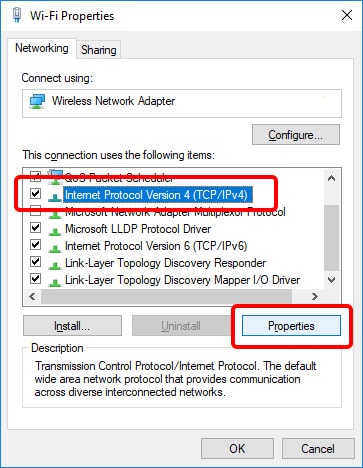
3. Head over to the networking tab then under “This connection uses the following items” choose “Internet Protocol Version 4 (TCP/IPv4) or Internet Protocol Version 6 (TCP/IPv6)” then select “Properties”.
4. Click “Advanced”> DNS tab. You might want to note down the DNS server IPs listed here for later reference. That done, proceed to remove the listed IPs from the window then click “OK”.
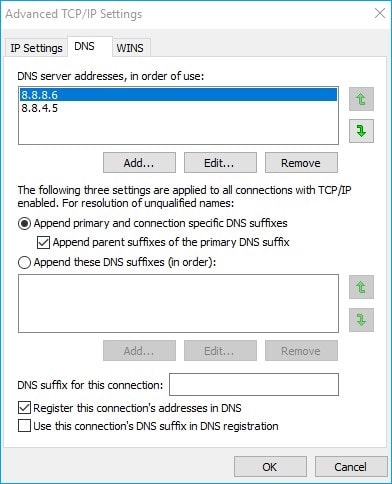
5. Next, choose “use the following DNS server addresses”. For future reference, remember to note down any IP addresses listed under the preferred DNS server or Alternate DNS server.
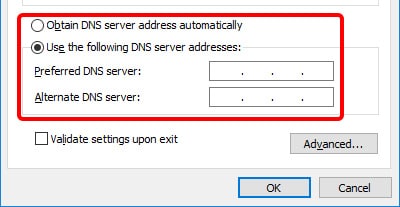
6. Replace those IPs with IP addresses from Google DNS servers as follows.
For IPv4: 8.8.8.8 and 8.8.4.4

For IPv6: 2001: 4860:4860::8888 and/ or 2001: 4860:4860::8844

For IPv6 -0nly: Use Google Public DNS64 instead of the IPv6 address highlighted above.
That’s all you’ve to do to change the DNS server address.
4. Reset Winsock
If all the above methods do not fix the DNS server error, then you may want to try a Winsock reset. Assuming you’re on Windows 10, the process is as follows.
Step 1: Right-click on the start button then select “Search”. Alternatively, you can simply press Windows +R keys then type CMD or run windows PowerShell as an administrator.
Step 2: On the user account prompt, select yes in order to allow the program to make changes to your computer.
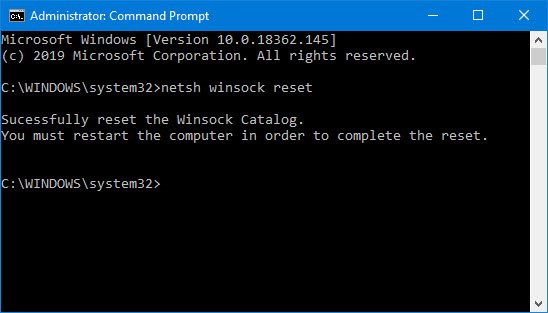
Step 3: On the command prompt window, input “netsh winsock reset” without the quotation marks then press enter.
Step 4: After a successful Winsock reset, you’ll be prompted to restart your PC. Please restart the computer in order to complete the entire reset process.
That’s all for the Winsock reset process. After the restart, you may want to confirm that your internet connection is still working fine, especially if you’re using Wi-Fi connectivity.
5. Start the DNS client service
Another great way to sort out DNS server issues is to consider starting or restarting the DNS client service. There are 3 ways to go about it.
Using Windows services console
The windows services console not only provides an easy way to start windows services but also offers an easy way to manage windows services. That said, here are the steps for starting your DNS client service using the Windows services console.
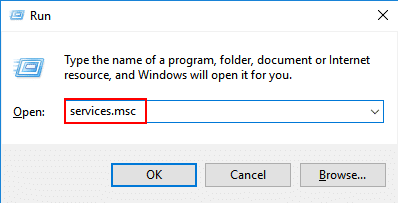
Step 1: Press Windows + R keys on your PC keyboard.
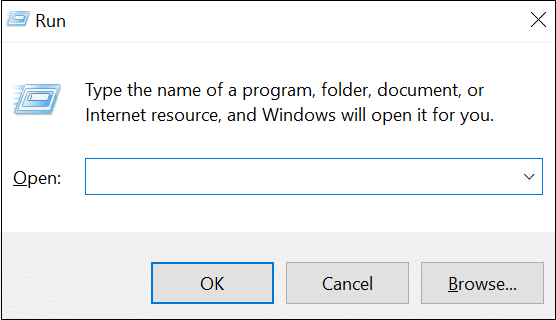
Step 2: In the small window that appears, type “services.msc” then enter. That should open the windows services console.
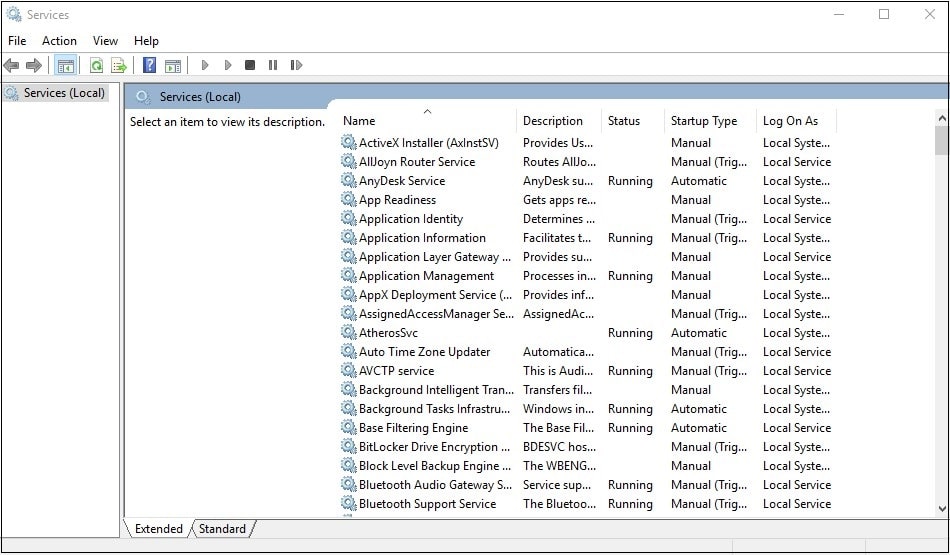
Step 3: Scroll down to locate DNS client service.
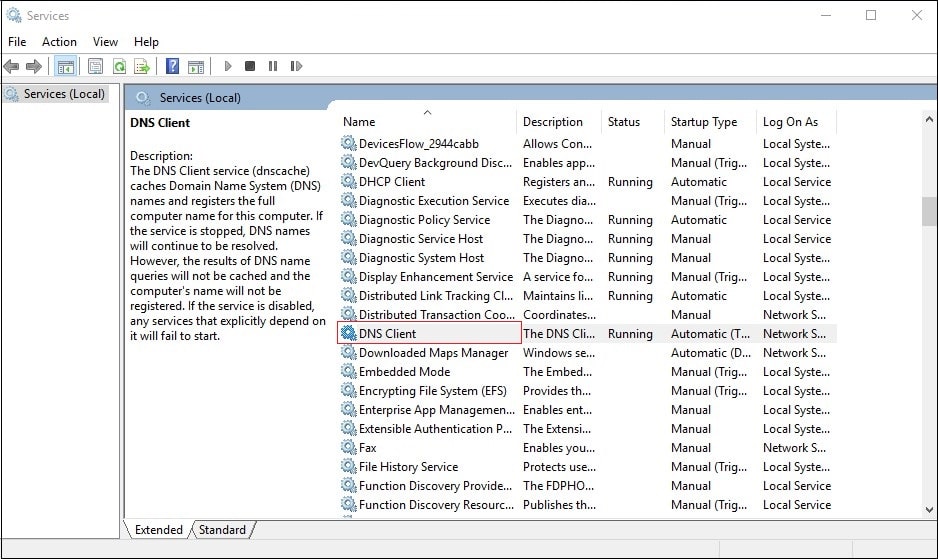
Step 4: Double click or right click on the service. On the new pop up window, choose start to enable the service.
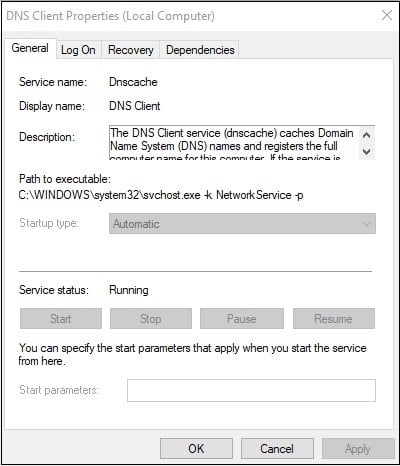
You might also love to automate the start of DNS client service. To do this, all you need to do is right-click on the DNS client service then select properties. Next, change the startup type to “Automatic.”
Using DNS client service command line
If you’re not conversant with the Windows service console or just want to try something new, then the command line is for you. Here’s how it works:
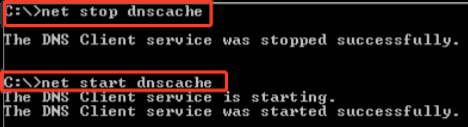
Step 1: Open the command prompt as an administrator then input this command: “net stop dnscache” without the quotation marks then press enter. That should start the DNS client service.
Step 2: to set startup to automatic, use the following command:
“REG and “HKLM\SYSTEM\CurrentControlSet\services\dnscache”/v Start /t REG_DWORD /d2 /f”.
To opt for a manual startup, change the numeral in the command line to 3. On the other hand, if you would love to disable the service at startup, change the value to 4.
Using System Configuration
You can also choose to start the DNS client service using the Windows system configuration feature. Here’s how to go about it:
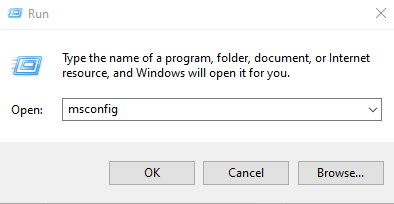
Step 1: Press Windows + R keys on your keyboard then hit enter to access the system configuration window.
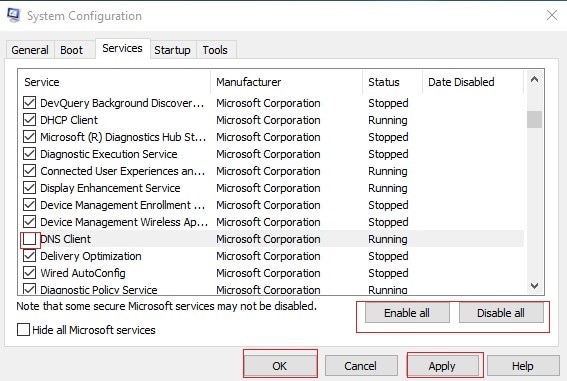
Step 2: Locate the DNS client on the services tab.

Step 3: Next, tick or untick the checkbox to Enable or Disable the service. That done, click “Apply” and the “OK”. In order to save all your changes, you need to restart the computer.
6. Contact the Network Operator

If after trying all the above methods, the DNS server issue is still persistent, it might be that the issue is beyond your scope as an ordinary user. You might want to contact your network administrator.
1. Which are the available DNS providers?
| DNS provider | IPv4 DNS addresses |
| Google Public DNS | 8.8.8.8 and 8.8.4.4 |
| Cloudflare | 1.1.1.1: 1.1.1.1 and 1.0.0.1 |
| Cisco OpenDNS | 208.67.222.222 and 208.67.220.220 |
| Quad9 | 9.9.9.9 and 149.112.112.112 |
If you want to change DNS on Mac, here are some quick steps to get it done in just a second.
Step 1: Head over to “System Preferences” then select “Network”.
Step 2: Select “Advanced” then choose the DNS tab.
Step 3: Click the plus (+) sign on the lower left to add a new DNS server. Remember to type in your preferred number of public DNS servers. That done, click “OK” then “Apply”. That’s it. You’ve successfully set DNS on your Mac device.