The Windows 10 Mail app is a convenient way to manage your correspondence via email. It is easy to access the Mail app by clicking on the Windows icon at the bottom left of your Windows OS. However, you may experience the Error Code 0x8019019a while trying to access the Mail app. Here are several troubleshooting tips on how to fix Error Code 0x8019019a on Windows 10 Mail app.
The Windows 10 Mail app is a reliable email platform that you can use on your Windows OS. It is easy to use the Windows 10 Mail app because of its user-friendly interface. The Mail app comes pre-installed on Windows 10/11 OS builds. However, you can encounter error messages while using the Windows 10 Mail app. Error Code 0x8019019a is one of the error messages you can experience while using the Windows 10 Mail app. You can read the article below to understand how to fix Error Code 0x8019019a on Windows 10 Mail app.
Below are troubleshooting solutions for fixing the Error Code 0x8019019a on Windows 10 Mail app. The troubleshooting solutions are in detail to make it easier for anyone to undertake them with relative ease.
1. Update your Windows OS
You can follow the steps below to update the Windows OS on your device.
Step 1: Click on the Window + I keys to launch the Settings application on your Windows OS.
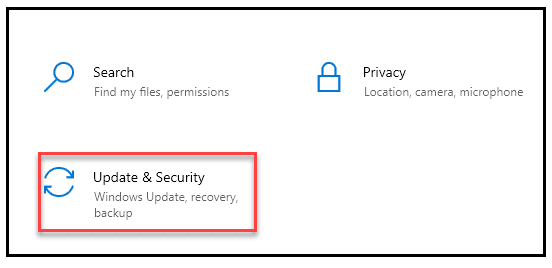
Step 2: Locate the Update & Security section at the bottom of the Settings Window before clicking on it.
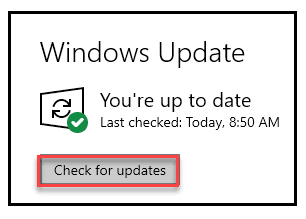
Step 3: Locate the Windows Update section on the left panel before clicking.
Step 4: Locate the Check for updates button before clicking on it to begin the update process.
2. Allow the Windows 10 Mail app through your Firewall
Follow the steps below to allow the Windows 10 Mail app through your Firewall.
Step 1: Click the Search box at the bottom of the Taskbar before typing Windows Security and hitting the Enter key.
Step 2: Locate the Firewall & network protection section before clicking on it.
Step 3: Locate the [Allow an app through Firewall] section before clicking on it.
Step 4: Click the Change settings button before locating the Mail and Calendar option.
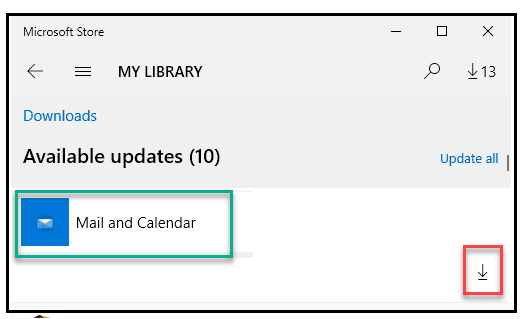
Step 5: Click on the Private and Public checkboxes against the Mail and Calendar option to enable them.
Step 6: Click the OK button to save your changes and complete the process.
3. Correcting the time and date
You can follow the steps below to correct the time and date on your Windows OS.
Step 1: Right-click on the Time at the bottom of the Taskbar before clicking on the Adjust date/time option.
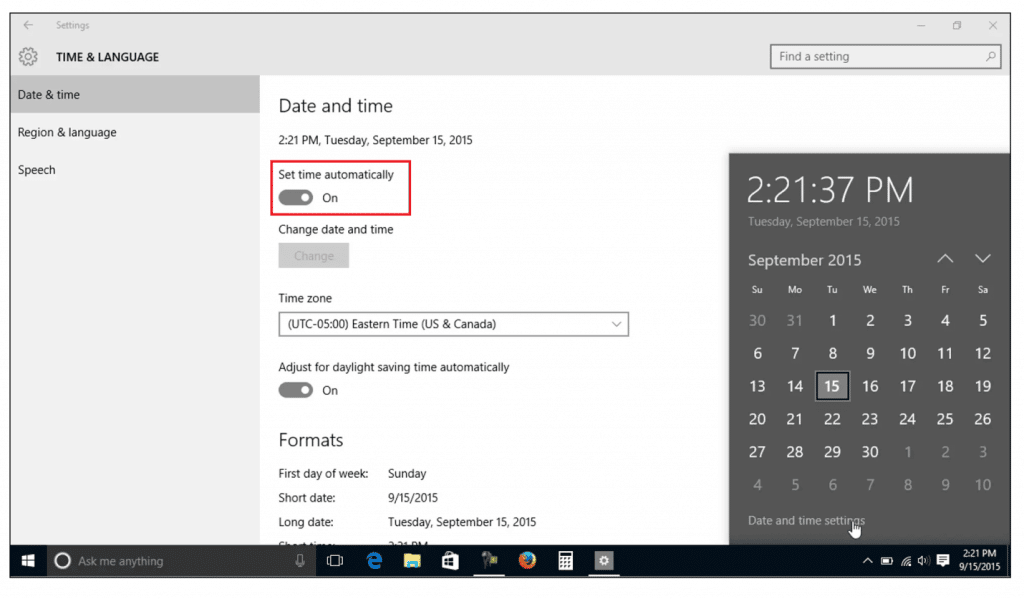
Step 2: Click on the [Set time automatically] and [Set time zone automatically] toggle buttons to activate the automatic updating of your date and time.
4. Enable the Mail Privacy feature
You can follow the steps below to enable the Mail Privacy feature on your Windows OS.
Step 1: Right-click the Start icon before clicking on the Settings option on the Start context menu.
Step 2: Click the Privacy section before clicking the Email section on the left pane.
Step 3: Click the toggle button next to the Allow apps to access your email feature to activate it.
Step 4: Locate the Choose which apps can access your email section and click on the toggle button next to Mail and Calendar to enable it.
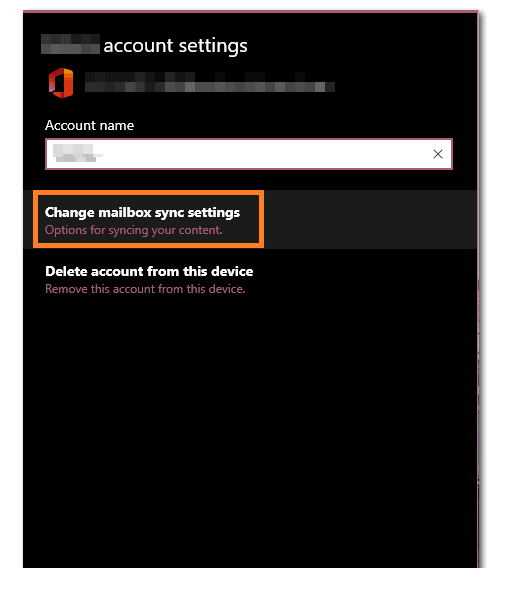
Solution 5: Toggling the Sync settings option
Follow the steps below to toggle the Sync settings on your Windows OS.
Step 1: Click on the Start icon before clicking on the Settings option from the Start context menu.
Step 2: Click on the Accounts section before clicking on the Sync your settings option on the left pane.
Step 3: Click the toggle button next to Sync settings to deactivate it.
Step 4: Restart your Windows PC before repeating the process to enable the Sync settings option.
6. Utilize the Windows Store Apps Troubleshooter
Follow the steps below to utilize the Windows Store Apps Troubleshooter feature on your Windows OS.
Step 1: Access the Settings section on your Windows PC before clicking the Update & Security option.
Step 2: Click the Troubleshoot option on the left pane before clicking on the [Additional troubleshooters] option on the right.

Step 3: Click the Windows Store Apps option before clicking on the Run the troubleshooter option.
7. Clearing the Microsoft Store Cache
Follow the steps below to clear the Microsoft Store Cache on your Windows 10 OS.
Step 1: Ensure the Microsoft Store is closed before pressing the Windows + R keys to access the Run utility.
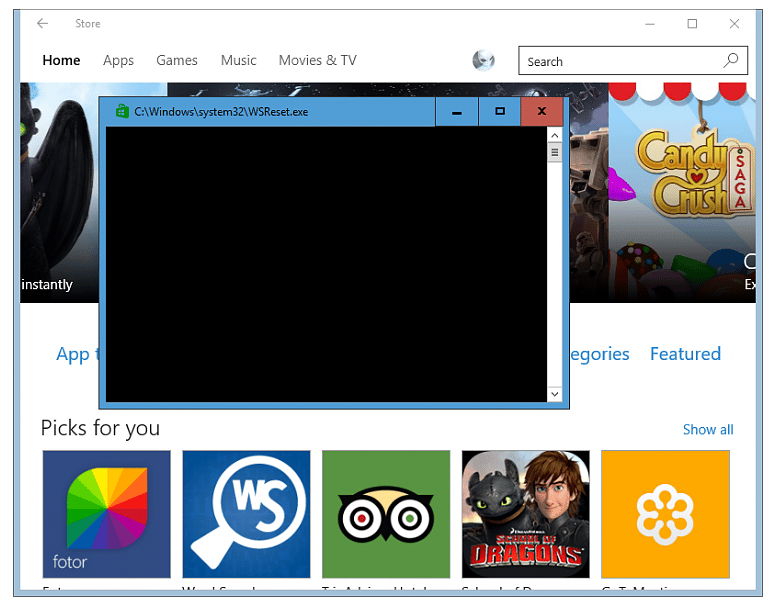
Step 2: Type the [wsreset.exe] Command before clicking the OK button.
Step 3: Wait for the [wsreset.exe] program to execute automatically before opening your Windows 10 Mail app.
8. Fixing corrupt files
Follow the steps below to fix the corrupt files on your Windows 10 OS.
Step 1: Open the Command Prompt app with Administrator privileges on your PC.
Step 2: Click on the Command Prompt terminal and type the [sfc /scannow] Command before hitting the Enter key.
Step 3: Wait for the Command to execute and fix corrupt files on your Windows 10 OS.
9. Resetting the Mail app
Follow the steps below to reset the Mail app on your Windows 10 OS.
Step 1: Access the Settings section on your Windows 10 PC before clicking on the Settings app section.
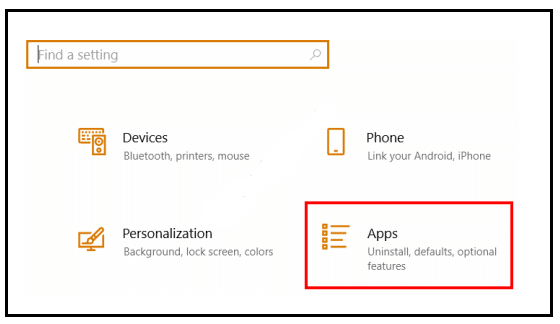
Step 2: Click the Apps option on the Settings window before clicking on the Mail and Calendar section on the drop-down list.
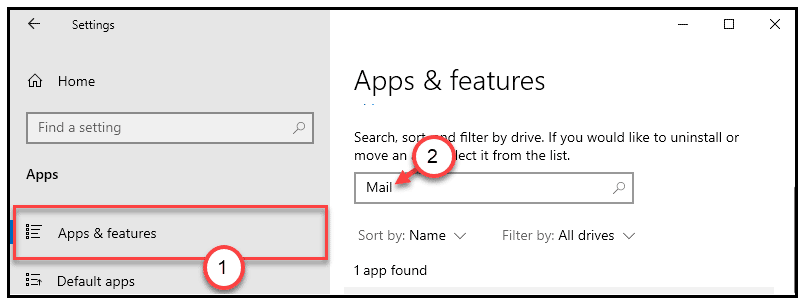
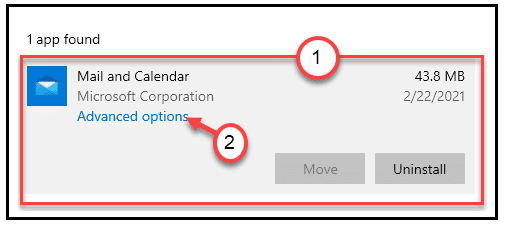
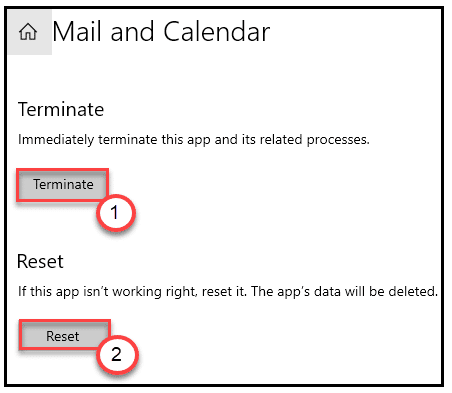
Step 3: Click the Advanced options button before clicking on the Rest option to complete the Mail resetting process.
10. Run the Windows Image (DISM) repair Command
Follow the steps below to run the Windows Image (DISM) repair Command on your Windows 10 OS.
Step 1: Launch the Command Prompt app with Administrator privileges on your Windows 10 PC.
Step 2: Click on the Command Prompt terminal and type the [DISM /Online /Cleanup-Image /RestoreHealth] Command before hitting the Enter key.
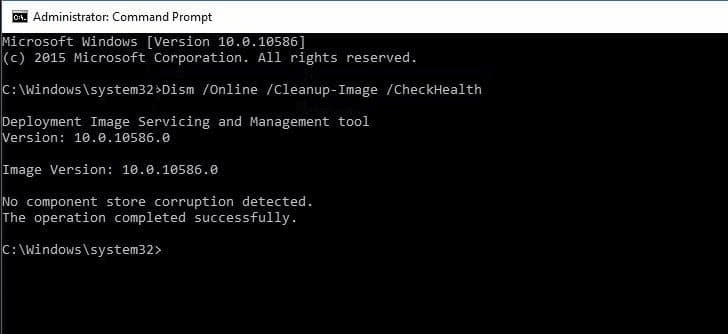
Step 3: Wait for the CMD Command to execute before restarting your Windows 10 PC to complete the process.
In a nutshell
The above solutions should resolve the Error Code 0x8019019a on your Windows 10 Mail App. You can also opt to install a fresh copy of Windows 10 OS on your computer if none of the solutions work.